Friday, November 29, 2019

Friday Afternoon Bolt Action

John's Soviets v. Jim's Grenadiers in 1,100 pts Hold Until Relieved Scenario.  German's defending.
The Germans have to hold the railway station at the end of the game. They deployed 2 infantry squads in the station & the adjacent orchard with their 1st wave & reserves coming on from the near side.
The Soviets sent 2 infantry squads thru the farm yard & orchard to attack the objective, supporting them with fire from the flank.  The Germans attacked thru the wood on their left flank with fire support of their own to distract some of the Soviet support fire.  The Soviet fire support failed to significantly weaken the defence - their first line managed some MAD in the orchard, but their 2nd line couldn't take the station. 

Thursday, November 28, 2019

Ancients in the Black Hills

Chris & I traveled to the Black Hills where PeterC hosted an ancient game using his rules & his ancient 25mm figs.

Chris' Romans on the far side v. Jim's Carthaginians on the near side.  The Carthaginian cavalry has driven the Roman cavalry from the field on the left, but Triari have deployed to face them & protect the Roman flank.  On the right, the Roman cavalry have driven the Carthaginian light cavalry from the field but haven't been able to return. In the centre the Celtic allies of Carthage are fighting the Roman front line.  The Romans withdrew & their 2nd line then attacked & broke the Celts but not without loss.  The Carthaginian vets then attacked the weakened Romans, but a run of bad dice countered their advantage & they too broke giving the battle to the Romans.  A very different style of game to our freewheeling Warlords style. 

Wednesday, November 27, 2019

Musket Action: AWI 5 players

British: Jim & Mike.
French & Continental: Mark, Chris & Steve.
Same battlefield as last Saturday, but bigger armies & 5 players.
The Brits are in the foreground making a steady general advance: Indians on their left, cavalry on their right, British vets in the centre with Hessians on each side of them.
The French are on the Allies left, Continental Militia right & centre & woodsmen skirmishing in front of their right.   
On the far flank the Indians are skirmishing with the woodsmen in & around the wood with Hessians supporting their right. The rest of the Brits are advancing slowly while their artillery & light infnantry move up.  
The Brits begin a coverging attack on the enemy centre with their right flank covered by cavalry & the woodsman on their left driven back or neutralised by the Hessians & Indians.
As the British vets move against the Continental Militia, the Allies realised that the French needed to get involved to take some pressure off.  But when they advanced the British Dragoons charged & broke thru their line.
The French infantry on the left of their line turned & blew away the one of the British cavalry units with musket fire, but the other cavalry unit moved round the back of the house & smashed into the rear of the Militia which was by then also hard pressed by the British vets to their front.
At this time our 10pm time limit was called without an Army Break Test kicking in, so the Allied players declared it draw.
The only Allied success has been to drive the Indians back, but the Brits have re-deployed their guns & a veteran infantry unit to cover their left flank.   But the Continental Militia are clearly doomed as the Brits close in on them with the French still too far away.
After the crowd had departed Mitzi & I played another couple of turns until the Allied force inevitably failed its Army Break test.  This battle was a much longer affair than previous Musket Actions due the Allies being very defensive & the Brits making a very deliberate & careful attack. 

Saturday, November 23, 2019

Musket Action: AWI

Dave's Continentals v. Jim's Brits. 1.500 pts.
The Brits are on the left.  They have made a general advance in the first turn.  
The British deployment has Indians on their left, British vets in the centre, Hessian regulars & cavalry on their right.  The Continentals have Regular infantry in the centre & Militia on both flanks.
On the far flank, the Colonial riflemen inflicted serious casualties on the British left until the Indians came up between them.  On the near flank the Militia were no match for the British cavalry.  
The riflemen have fallen back in the face of superior numbers of Indians.  On the near flank the militia have occupied the farmhouse & field while the Brits build up forces to attack them.   The cavalry are withdrawing rather than run the gauntlet past the farmhouse.
The Hessians have broken the forward unit of Militia in the farmyard.  In the centre the British vets are getting the better of the musketry duel with the Continental regulars. 
The Continental left has evaporated under converging firepower & the Continentals fail their Army Break test. 

It was a decisive victory for the Brits who have broken the Continental army without losing a unit.  The Continental commander made some serious strategic mistakes & the British commander exploited them ruthlessly.  The Continental brigade on their right did nothing.  The militia on their left were left in the open, vulnerable against cavalry.  The cavalry advance allowed the Hessians to overlap the Continental left & chew it up.

Wednesday, November 20, 2019

Spear & Sword Action: 17th century Poles v. Turks

Poles: Jim with cavalry on their left, Mark with the their infantry on their right.
Turks: Steve with their cavalry on their right, Chris with their infantry on their left.
The Poles are on the right.   The battle started with a  light cavalry skirmish in the centre.  The Poles made a general but measured advance all along the line.  
The main lines paused & watched while the light horse slugged it out.  The assistance of musketeers allowed the outnumbered Polish light horse to destroy the Turkish horse archers. 
With the Turkish horse archers out of the way Poles resumed their advance on their left, with the winged hussars leading the charge & breaking or pushing back their opponents.  But on the far flank it is the Turkish infantry that is advancing. 
The Winged Hussars have not had it all their own way & the Turkish cavalry is fighting back
In the infantry fight the Poles are holding their own though giving ground on the far flank. 
Losses have mounted all along the line on both sides, but in general the Poles have the edge.
The Turkish cavalry has fought back well to even out the cavalry fight, but good coordination of Polish pike & shot has got on top in the infantry fight & it is the Turks who break.

This is our biggest action yet with these rules with 54 units on the table, but battles with these rules really rip along  & it was fought in less than 2 hours.  It's a quite different style of game to Hail Whoever, but they both provide a good fast game.  It will be interesting to see how Hail Whoever feels when we play it again.  

Tuesday, November 12, 2019

Spear & Sword Action: Crusaders v. Muslims

Crusaders: Mark & Chris.
Muslims: Steve & Mike.
The next step in the development of Musket Action was to step further back in time & add a Spear & Sword Action appendix.
The Crusaders are on the left.  Both sides deployed all their cavalry on the far flank.  The Crusaders supportted theirs with crossbowmen on their right flank.   The rest of the infantry of both sides was on the near flank leaving a gap in the middle.  The battle became two separate battles.
On he cavalry flank the action started with the light cavalry as the crossbowmen moved up onto the rocky hill
The crusaders lead their attack with the sergeants supportted by the crossbowmen, but this left their knights back out of the action.
In the meantime the infantry was advancing on each other around & thru the oasis.
The sergeants have broken & massed of Muslim cavalry are massing against the knights & surviving Turcolpols.
The crusader bowmen have been driven back & billmen have advanced to the front.  (There are Muslims in the oasis, but not all taken off their trays & put down among the palms).  On the other side of the oasis the bowmen in the village have discouraged the heavy men at arms from advancing & exposing their flank.
The crusader cavalry is hanging on under a hail of arrows. The Muslim horse archers are keeping th crossbowmen busy.
The attack of the first line of billmen failed, but the second line has defeated the levy infantry.  However is now flanked by Muslims in the oasis. 
The knights have broken & the last of the Turkopols are about to be driven off the table. Whne that happened the Crusaders failed their army break test giving the Muslims victory.

The Crusaders lost because they failed to get value out of their best units.  Their mounted knights were not in the action until after their supports were defeated, then they were overwhelmed by weight of numbers. Their dismounted knights in the centre did not get into action at all.      


Tuesday, November 05, 2019

Musket Action: Pike & Shot

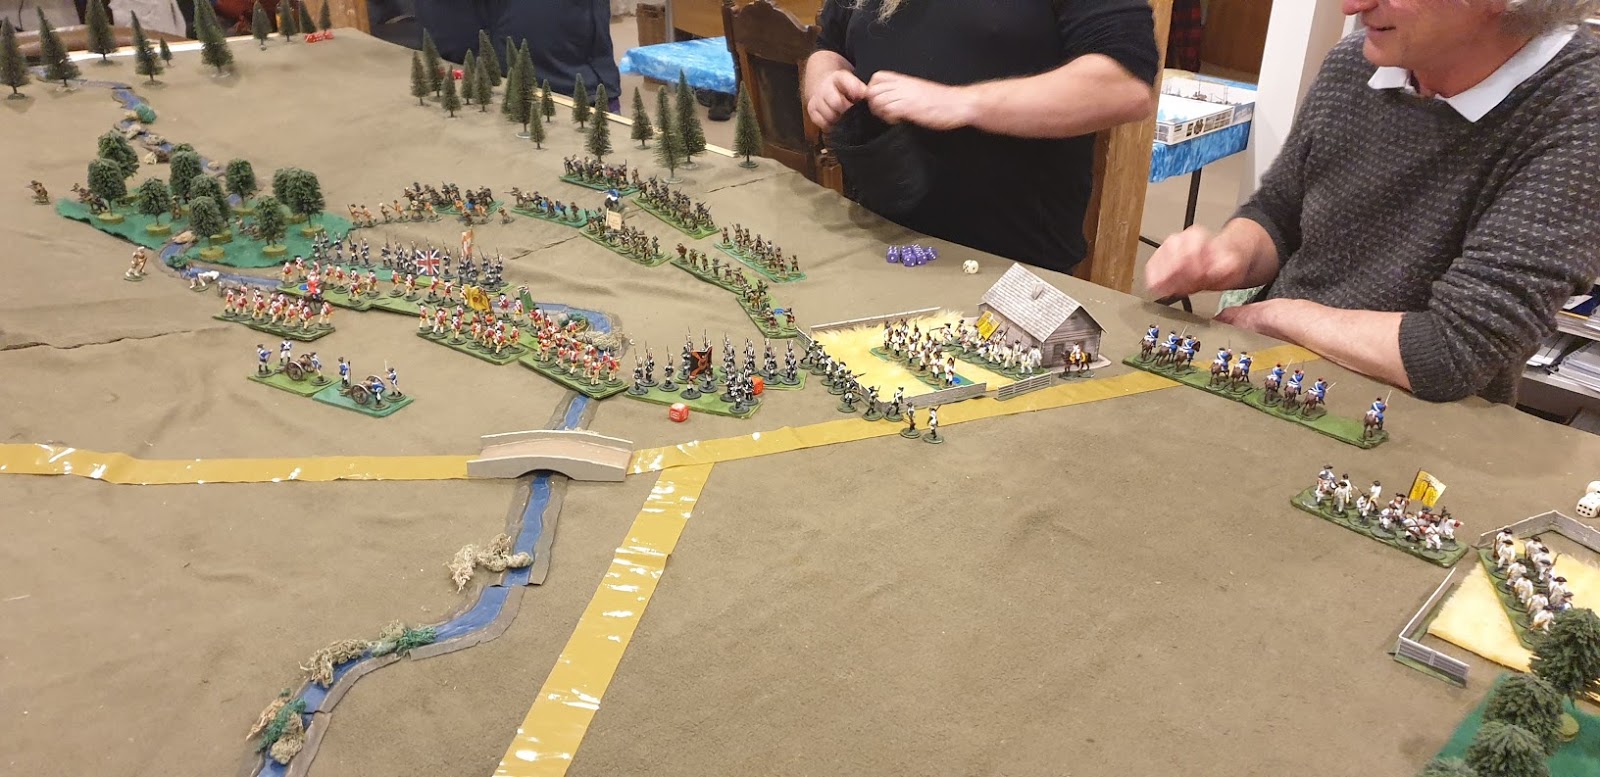
As you might have noticed I have a penchant for taking sets of rules into other periods.  Musket Action started off as a Muskets & Tomahawks game, but we have found they work just as well in other periods & for much larger battles. Tonight we tried them out in an English Civil War battle.
Mike's  Scots: 3 lowland regiments (1 pike & 3 shot), 4 highlander units, 2 brigades of 4 medium cavalry & 2 guns. 
Jim's English: 4 pike & shot regiments (1p+2s), 2 musketeer coys, an extra heavy cavalry brigade of 2, & an heavy cavalry brigade of 4.
Steve acted as UN observer.
The English are on the left. In the first turn they held back their foot & their extra heavy cavalry on their left & pushed forward on their right.  The Scots made a general advance, a bit disrupted by a command failure in the centre.  Half their left flank cavalry have pulled back behind the wood on the right, other half is on the flank of the highlanders.
The English right has mostly turned left into a defensive position with just 2 cavalry pressing forward. 
On the far flank the English extra heavy cavalry charged the Scot horse with mixed success, breaking 2 enemy, but losing 1 themselves.  Right of centre the English have become more aggressive, perhaps a bit too much so.
On the far flank the cavalry has clashed again, this time indecisively.  In the centre the musketeers are now slugging it out. On the near side of centre the highlanders caught the careless musketeers in flank, but the English horse has broken the Scots cavalry.  On the near flank, the English have lost a unit, but it took a few Scots with it & they have a good unit left. 
On the far flank the English cavalry has called discretion the better part of valour & fallen back. 
On the near flank the English cavalry has taken out all the Scots cavalry & a highland band as well.
In the centre the Scots still haven't got their big schiltrons into action. 
As the English lapped around the Scot's left flank with foot & horse more English units broke & the Scots army failed its army break test.  The English plan of avoiding the big schiltrons & attacking everything else worked (maybe helped by some good luck with cavalry, but the English commander felt he was owed that by the dice gods given what they done to his cavalry in most recent battles).

These rules have really come together now.  This battle didn't show up any omissions or quirks in the rules that needed fixing.  It was also finished in very good time - under 2 hours with 21 to 24 units a side.