Tuesday, April 29, 2014

Napoleonic Naval

Mark & Thomas: 2 British ships each.
Steve: 3 French ships.  Chris: 2 French ships.
Our own Man o' War rules.
The dice gave the French got the weather gauge & they are bearing down on the British fleet.
Thomas a visitor from Sydney is given some advice as both fleets split into 2 squadrons.
On the right, Steve has sailed right around Mark's squadron giving it a good pounding.  On the left Chris & Thomas are squaring off.
On the left one of Chris' ships is badly damaged, failed morale and is breaking off.  It is fortunate to still have its rigging intact so can escape to windward.
In the foreground 1 of mark's ships is on fire.  On the other side Chris's flagship is now fighting 2 British ships.
Mark's damaged ship has sunk leaving the other in deep do do.  Chris' remaining ship is putting up a good fight.
Mark's 2nd ship has joined the 1st in Davey Jones' locker, though it took a Frog with it (off pic).  One of Thomas' ships is so badly damaged it has broken off.    Thomas's last ship is getting the better of Chris' flagship, but with Steve's squadron now free to come & help, he makes good his escape, conceding a rare victory to the Frogs.

The British have 1 ship fit to fight, 1 broken off badly damaged & 2 sunk.
The French have 3 ships fit to fight, 1 broken off & 1 sunk.

We tried using A1 hex sheets the same size as the ship bases, moving them around as the ships went off the sides.  I only had 4 of them, but it worked fine, so I'll make up some more & it will be better still.  The rules worked well, though as always I saw some room improvement.


Kingston Kup practice FOW

Jim's Schurtzen v. Chris' Indian Rifles

1555 pts, Breakthrough mission, Germans attacking.


The Germans are attacking from the near quarter to the far quarter. They have their artillery, HMGs & A/Tank guns plus 1 infantry deployed.  1 infantry & the Panzers are making the flank attack.  the Indians have a defensive cordon while moving infantry onto the far objective.


The German flank attack with armour and infantry quickly drove the Indian infantry off the objective.   They then beat off a counterattack to secure victory.  Chris' inexperience made it an easier win for the Germans than they deserved.

Kingston Kup Practice

A practice game against Richard at the Garage!

Richard ran over my German pioneers. It didn't help that I managed to whiff with almost 40 shots at Japanese who doubled towards the objective.


Wednesday, April 23, 2014

Kingston KUP FOW Practice

Jim's Indians Rifles v. Chris's Afrika Korps

1555 pts Early War Free For All mission.  Thursday afternoon 17/04/2014.
The battle has already been going about 3 turns before I remembered the camera.
The Germans are on the left.  On their far flank infantry, HMGs & Pak36's defend an objective on the hill.  In their centre an infantry platoon is moving right.  Their 3rd infantry platoon hold the village.  Mortars are on the objective on their right supported by MkIII's (which have fallen back after losing a tank to the Valentines).
The Indians have infantry platoon A dug in on the far objective.  Bugs deployed to support them are moving to the left.  MMGs & mortars are on the central ridge.  Infantry platoon B has advanced towards the village & been decimated by mg fire from the village.  Platoon C is advancing on the left supported by Valentines.  Portees have moved to the LH objective from the centre.
The Indian infantry on the left have been destroyed by mortar fire & mg fire from the MkIII's which have moved around to the other side of the village.  German infantry has arrived to protect the objective.
The valentines have moved right to face the MkIII's.  The bugs having move right across the filed are keeping pressure up on the objective.
The Indians deployed their 2pdr a/tank in front of the objective.  The MkIII's declined to slug it out with a/tank guns and withdrew behind the village.  The valentines moved left again.  The Indians have moved their mortars to get them in range of the LH objective. The Germans have advanced on the far flank, but area fire from the HMGs has pinned them down.
The panzers advance again in the centre.  The German left is advancing.  The Germans on their left have failed to dig in and have been decimated by mortar & bug fire.
The Valentines have left the fight with the panzers to the 2pdrs and joined the bugs attacking the objective.  The German advance on the far side has been decimated by the HMG's area fire.
The Indian armour have taken the objective and withstood a counterattack of infantry from the village and the fire of the remaining panzers.  A hard won victory for the Indians.

Tuesday, April 15, 2014

28mm Napoleonic

It was Mike's turn to be gamesmaster and he revealed the 28mm Napoleonics he has been working on quietly for some time.  He set a scenario based on a Wargames Illustrated scenario of Genape on the road to Waterloo 1815. 

Jim & Chris' French v. Steve & Mark's British

The British rearguard is deployed on & behind a ridge that runs right across the table.  A battalion of riflemen is in the hamlet on the French right.  Niether were told how many troops the other side has.
Initially the British ahd just the infantry in the hamlet, the battery & the riflemen in the far left corner in view of the French.  When the French cavalry advanced on their right, 2 battalions showed themselves on the crest and formed square.  The Trench have ignored the riglemen & advanced as fast as the command dice will let them.
The last of the French have arrived.  Their cavalry are content to pin the squares down and wait fro the artillery.  Their columns are advancing as fast as they are allowed.
The French artillery has deployed to fire on the squares.  The columns have charged the hamlet but are still short of the battery.
 The French second wave is advancing on the British centre.  The British left is still holding on.
The French advance on the centre has come to a halt as 2 regiments of hussars charged over the ridge causing them to form square.  The French suddenly got lucky and took the Hamlet.  One column charged home and broke a gun.  The other, while being pounded are holding their ground.
For the first time the French know how small the British force is.  The battalion that took the hamlet has charged the battery in flank & broken it.  The Cuirassiers are moving up on the hussars.  But the umpire has called time - the French had 10 turns to take the ridge.  They have taken half of it, so the battle was declared a draw making everyone happy.

It was our first go with 28mm Napoleonics.  They certainly look magnificent & was great fun as well.  The French probably could have thrown their cavalry straight through the British centre, but in their heads there was a thin red line with +2 dice for first fire right behind it - lack of knowledge so changes a game.  I'm just very pleased that others have done all the assembly and painting.  Once again Hail Caesar has demonstrated its flexibility.  Mike worked out the basic stats & we modified Hail Caesar on the fly where necessary as we went along - something you can do in a group of over-mature wargamers. 

Saturday, April 12, 2014

Flames of War practice for Kingston Kup

With the Kingston Kup approaching it's time to get in some practice - so I introduced Chris to the game.  Chris had my Kingston Kup 1555 pt Indian Rifles.  I had a Schutzen Coy.  Chris attacked in a Hold the Line mission.
The Germans are defending the near end of the table with infantry in the village & on the right of it.  The Indians are attacking frontally while sending troops around the German's left flank. The MkIII's have come out of ambush to counterattack on the right.  
The Valentines moved onto the reverse slope & popped a MkIII.  The rest of the MkIII's bugged off behind the ridge to the other flank to find easier prey.  They and infantry reserves cleaned up the flank attack.  The Indians attacked the village, were beaten off the first time, then attacked again to mutual destruction.  The MkIII's took out the bugs, but were themselves destroyed by the Valentines. the valentines returned to attack the infantry on the right & eventually destroyed them, but byt hen German a/tank guns from reserve were depoloyed on the objective.

By now both side were verging on army morale failure & lacked the wherewithal to attack, so a draw counting as a defender win by the rules for this mission.

It was a very worthwhile exercise - I discovered how much FOW I'd forgotten, not having played it since operation Cromwell last October.  I'm going to need more practice in the next 3 weeks.

Thursday, April 10, 2014

Wednesday, April 09, 2014

Cedar Mtn 1862 Take 2

Mike's Union v. Steve & Mark's Confederates

This time we started the battle 5 hours (15 turns) before nightfall with the Confederate army having to march onto the field & deploy.
The Union army is deployed on the reverse slope with more troops off shot in the woods on the right.  The Rebs are marching up the road from the far left corner of the table.
The Rebs are attacking the Union left.  The Union have moved troops to meet that threat.
The attack on the Union left continues.  Banks surprises all by advancing in the woods on his right.  The Rebs have now moved troops up in the centre.
The Rebs are now attacking all along the line.
Both Union flanks are holding on, but their centre is crumbling.
Just as night fell, the Union centre broke, but both flanks are holding on and the army hasn't broken.  The Rebs have lost 1 division, but are in no danger of breaking.

With Union reinforcements coming in the morning, Jackson could only declare victory and retreat as in the real thing.  The Union could also claim victory on the grounds that they held on until dark.

The Rebs had a sound plan - to attack the flanks to draw troops from the centre, then attack there as well.  They just didn't quite have enough time to break the Union army.

Friday, April 04, 2014

Warhammer Ancient Battles -- Romans vs Barbarians


Starn's instructions were clear -- lets play something other than Flames of War. So I dragged out my Romans and Barbarians for Warhammer Ancient Battles. I was using 15mm figures, but two 15mm figures have the same frontage as a 28mm figure that the rules were designed for, so we doubled unit sizes and kept movement distances and ranges the same.

The forces were the 'example' army list forces in the rules book. The Barbarians had 4 warbands of crap, each with a barbarian leader. The Romans had 3 cohorts of legionaries, plus some auxilia. Each side had one unit of cavalry, and two of skirmishers -- but since I discovered I had left one unit of barbarian skirmishers at home, I took away one unit of Roman skirmishers


The battle started well when the Roman cavalry destroyed the barbarian cavalry for no loss. But then the legionaries and the barbarians clashed. At first the battle see sawed. But the Auxiliaries were no match for the barbarians, and they broke and fled. A Roman cohort turned to take the advancing barbarians in the flank, but instead the cohort in front of it broke, and the romans were taken in the flank. They managed to actually win this combat (I'm not sure we did flank attacks properly), but by this time Roman legionaries were running all over the field.

A great game and a well deserved win to Starn.

Thursday, April 03, 2014

Cedar Mountain 1862

Jim's Union v. Chris' Confederates

This scenario is taken from an excellent blog I just discovered: http://obscurebattles.blogspot.com.au/
It includes several beautifully presented scenarios for battles between Blenheim 1704 & Cedar Mt 1862.  With the help of the blog, it only took us an hour to set this up after the air games the other night.  I suggest you check out the blog, apart from the excellent scenarios & battle descriptions, the sand tables for some of the battles are astounding.

Jackson's Confederate force outnumbers Bank's Union army by over 2 to 1.  But it's mid summer & over 100 degrees F & the Rebs have forced marched all day.  Banks only has to hold on until nightfall as he has reinforcements coming by morning.

The heat is said to have significantly affected the Reb's fighting ability.   To reflect this we dropped off a few Reb units as stragglers (simplifying the OOB in the process) and dropped the Rebs stats for firing, HTH & stamina by 1.  All troops are regular grade & all commanders 8.  (Jackson had to have a nap during the battle, presumably because of the heat, so even he wasn't at his best).

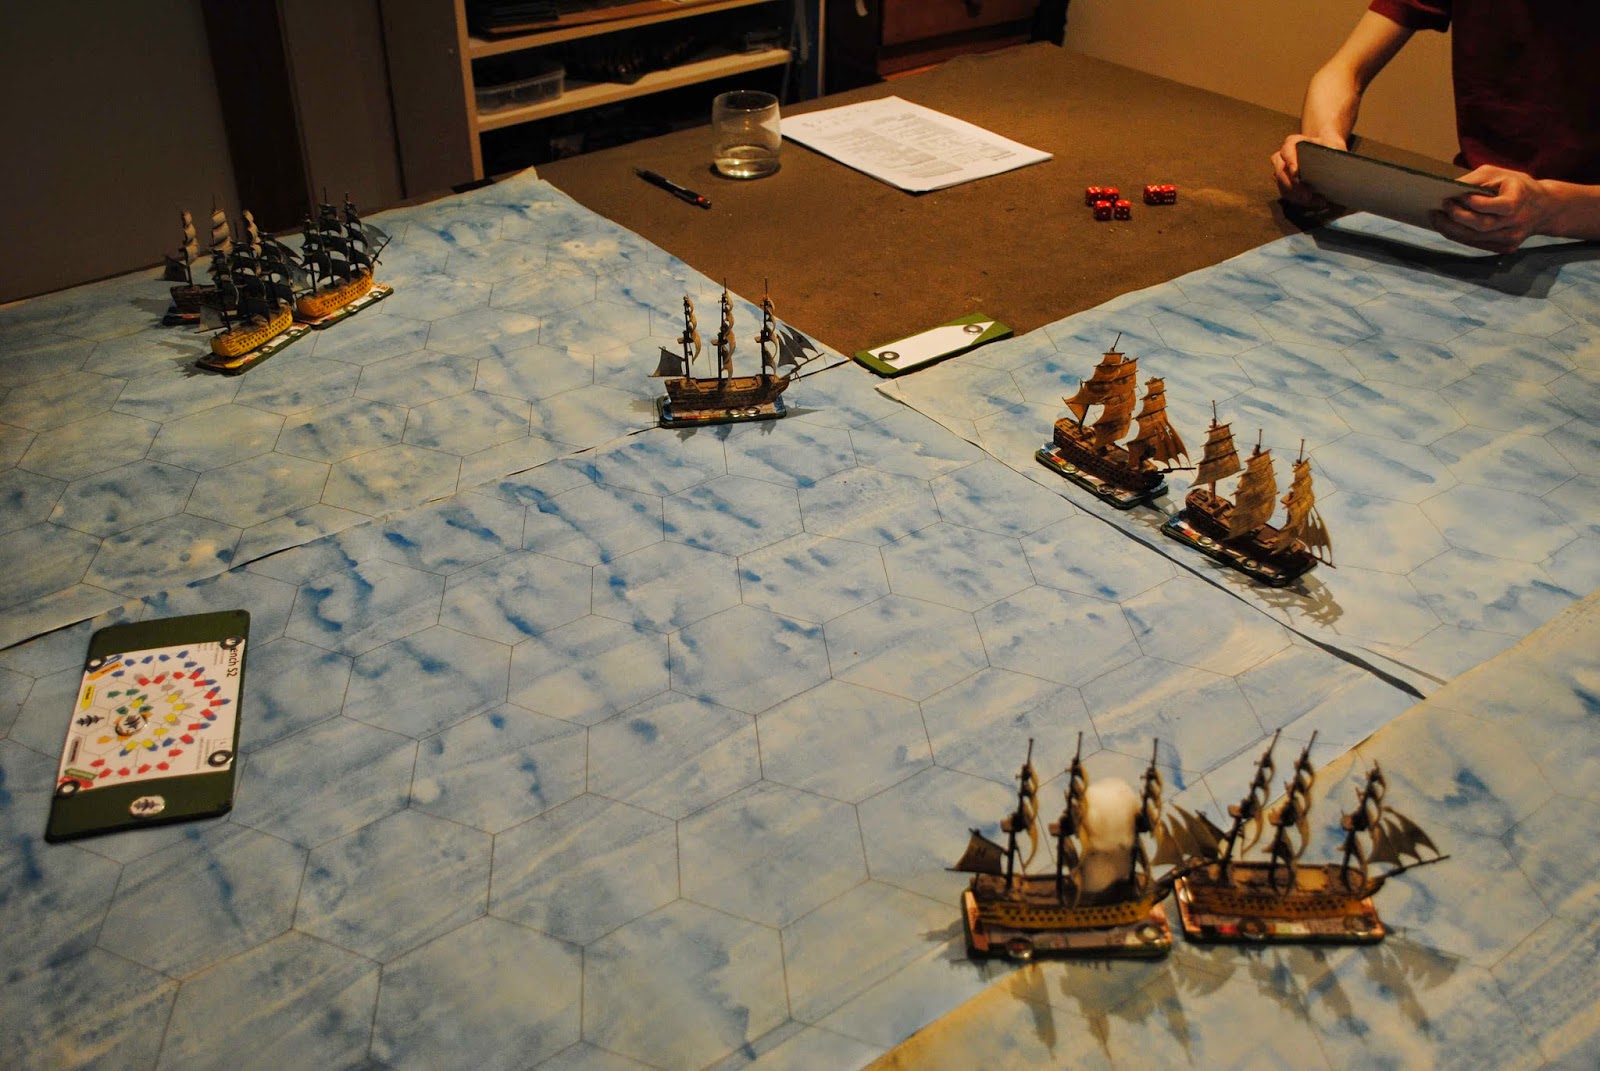
We used our Hail Napoleon rules - our house variant of Hail Caesar for the Black Powder era.  The battlefield is set up at a scale of 18" = 1km using Chris' 15mm figs.  Each 75mm wide unit = about 400 men.   We started the battle with all troops deployed historically as they were before the serious action started.  There are 2 hours = 6 pairs of turns left until nightfall.
All pics are taken from behind the Union line.  In the centre Banks has advanced his infantry into a valley of cornfields with artillery on a ridge behind able to fire over them.  The Rebs have 4 divisions deployed facing the Union line, 3 still coming up & one on Cedar Mt outflanking Bank's left.
The Rebs are trying to advance all along the front, but the command system has caused some divisions to move up faster than others.  Banks is moving his reserve & his centre's 2nd line to the left to meet the Reb's flank attack.
On the right the Rebs have charged across the clearing to attack the Union troops on the edge of the wood.  In the centre, the Rebs are making hard work of it in the face of Union artillery fire from the ridge and skirmish fire from the infantry.  On the left the Rebs have crossed the creek & are ready to attack.
The struggle in the wood on the right continues indecisively.  The Rebs are trying to send a reserve division to help, but they seem to have lost their way in the woods.  The Rebel attack in the centre is going nowhere, but they have advanced a division to attack the angle in the Union line in the corn field.  The Rebel attack on the left has mostly been thrown back.
On the left, Union fire has finished off the Rebel right flank.  The Rebel attack on the cornfield did break the Union line, but the cost was high & they couldn't stand in the face of the Union artillery on the ridge.  The Union centre only just hung on, but hang on they did, & most of the Rebel centre has been shaken & forced to retire.  On the right, the Rebel reinforcements still haven't got to the front & the Union troops in the woods have hung on by the skin of their teeth causing both attacking divisions to retreat.

So as night fell, 3 of 4 Union divisions are on half strength but none have broken and they still hold the line.  The Rebels have the only intact division left on the field (on their left), but it's too late to use it.  They have 5 divisions broken & fail their army break test on the final turn.  It is clearly a remarkable Union victory against heavy odds (40 infantry & 5 guns v. 17 infantry, 1 cavalry & 6 guns).  The reduction of Rebel fighting ability due to the heat was crucial, but the Union also had a good position that Chis defended well, with good use of his reserve, & unlike Banks made no wasteful counterattacks.   The Rebs on the other hand possibly got a bit carried away with the need for speed.  A bit of time for preparation before going in might have worked better in the long run. 

We had added a few tweaks to the rules since we last fought ACW & they all worked fine - speeding the game up even more with no noticeable reduction in subtlety.  The 6 pairs of turns only took us about 1 & 1/2 hours to play. 
 
Next Tuesday, it's Chris' turn to be gamesmaster & he will be putting this battle on again, this time doing the deployment phase as well.  We will start 3 hours earlier with the Rebs marching onto the table in a long column of 9 divisions - 1 division per turn.  The Union will start deployed behind the crest where their artillery was deployed in today's battle, but free to advance as they did.

Tuesday, April 01, 2014

Modder Fokkers - WWI Air

It was Mark's turn to organise the game tonight & he selected a return to Modder Fokkers WWI air.  This was our flavour of the month of a while around the turn of the century, but we haven't played it for a while.  We gave the rules an edit, but not much has changed other than using magnetic boards for manoeuvre & damage records.  The game is played in simultaneous turns with each player recording his proposed manoeuvres on his game board before simultaneous movement & firing.

The game is best played with a plane per player and between 4 & 6 players.  Unfortunately Mike & Steve both reported sick so there were only 3 players, Mark, Chris & Jim.   We made it a 3 player game by having 2 German fighters while the Brits had 1 fighter & a 2 seater spotter plane. The 2 seater was on a mission & had to fly straight across the table taking recon pics.  The tail gunner could fire, but the plane had to fly straight until it had significant damage justifying aborting the mission & running for home.

We had time for 3 games with each player taking a turn at being the Brit.

Game 1:
Chris had a Spad XIII escorting the 2 seater.
Jim & Mark had Fokker DVII's.
Mark's camo'd Fokker is on the 2 seater's tail while Jim's yellow Fokker draws the Spad off.
The Yellow Fokker has turned inside the Spad and the 2 Brits share the first kill of the night.
The Spad is running for it's life with 2 Fokkers on it's tail but accumulating damage slowed it down and the Brits shared a second kill.

Game 2:
Jim's Spad escorting v. Mark's Albatros & Chris's Pfalz.
Chris's pfalz has taken on the Spad while Mark headed for the spotter plane.  Then Mark turned on the Spad deciding to take Jim out then go back for the spotter.  Good plan - except the tail gunner got in a lucky shot and killed Mark's pilot.  Already damaged by the Spad, the Pfalz ran for & escaped.

Game 3:
Mark's Spad + spotter v. Jim's Pfalz & Chris' Albatros.
The Germans begin stalking their prey.
The Pfalz takes on the spotter while the Albatros takes on the Spad.
The planes pass each other and the Germans turn back onto the spotter's tail.  The Spad also turned back, but overshot & can't protect the spotter from there.
The spotter is going down under the combined fire of both German planes while the Spad runs for home.

Modder Fokkers has always been a good, not to serious game & still is.  It was apparent that the mission was biased the German's way, but by rotating the players everyone got a go at being on the favoured side.  Even so, the Brits won 1 of 3 (though there may have been a bit of luck involved).  A good time was had by all.  We finished the 3 games early enough to set up Cedar Mountain for Chris & I to fight on Thursday afternoon.