Thursday, June 25, 2015

Bolt Action at Good Games

Mark's British v. Jim's Germans: Tank Battle Scenario

We used the same armies as last time, but swapped sides.
There are 5 objectives: One in each hamlet, one on each hill and one on the T-junction.  The Germans are on the left.  In the first turn the Germans trucked panzergrenadiers down the road and grabbed the objective on the road juction.
The armour set to trading generally ineffective fire while the British prepare to counterattack the central objective.
The Panzers are getting the better of the British tanks, but the panzergrenadiers on the T-juntion are melting away 
The Brits destroyed the panzergrenadiers in the centre, but the Panzers still held that objective and two others to with 3 objectives to two.

Tuesday, June 23, 2015

Small Napoleonic Battle

In case the 2nd battle of Decumantes was over quickly we had a Napleonic battle plan ready to fill in the rest of the evening.

Mike & Peter's British v. Jim & Mark's French
Both sides had 2 infantry divisions, a cavalry division and 2 batteries.  The British deployed first with hidden deployment allowed behind a long ridge.
The Brits are on the left with most of their army not on the table being out of sight of the French (with their locations marked on a sketch map).  All that is visible is the cavalry division on the far flank with their guns beside it.  The French deployed their cavalry on the right, both infabtry division this side of the village and their guns in the village.
The Brits got the first move and immediately advanced infantry over the ridge on the far side of the road.
Mark's two infantry divisions advanced on the ridge.  Just before they got there, the thin red line stepped over the crest and opened fire.  The column attack was generally halted, but with the superior numbers the French were absorbing the casualties better.
The French deployed their battery supported by a battalion just in front of the village.  The British infantry charged the guns but were repulsed by defensive fire.
The French cavalry moved to the right to square off with the British cavalry & avoid the infnatry & guns.
The French numbers are telling on the near flank and the British division there is verging on breaking.  The British attack towards the village is still held up by the battery.  They have got some infantry across the road to support their right, but ot looking like it might be too late to save it.  On the far flank the French cavalry with a mix of dragoons  & husars is getting the upper hand v. the British hussars.
The British right has broken.  The British horse has been beaten back and reduced to half strength.  Their artillery were manhandled into position to drive back the draggons, but an hussar unit caught teh battery in flank and rode it down. The Brits conceded the battle.

Mare Nostrum Year 7.2: 2nd Battle of Decumantes

2nd Battle of Decumantes

After losing the first battle of Decumantes last year, the Gauls retreated to Roman Parma while their ally Germany retreated to his heartland.  The victorious Ponts moved most of their army to Athens fearful of a strike at their southern front leaving the Macedonians to continue the siege supported by just one Pontic division.

This year the Gauls took a punt that the Ponts would have moved troops south and again attacked Decumantes.  This time supported by two Roman divisions.  The Germans also attacked again, but were unable to coordinate their attack with their allies. 
The Gallo-Roman army is on the left with the Romans on the left of their line & their Gallic cavalry on the right.  The Macedonian infantry is on their right, their cavalry on their left and the Pontic division left centre between the Macedonian foot & horse.  The Gauls have advanced their right, the Macedonians & Ponts their left.  Both sides are holding back their foot on the far end of the table
Both the Ponts & the Macedonian cavalry just failed to charge home, and the Gauls then charged them.  The Ponts had some success breaking one Gallic warband and pushing another back, but their heavy cavalry was broken.  The Macedonian horse did better pushing back the Gallic cavalry & breaking one unit.
The Pontic division was eventually swamped by the Gallic infantry & the Macedonian horse declined to put their head in a noose by pushing forward.  On the far flank both sides had advanced slowly and were still not in contact.  The Macedonians ordered a general retreat.  The Romans & Gauls were happy to see them go.

Thursday, June 18, 2015

Mare Nostrum Campaign Year 7.1

This year has produced 3 battles.  In the west the Carthaginians tried to retake Carthage from their remaining territory of  Gades.  They found that while the main Egyptian army had gone back east by sea, the city was strongly garrisoned.  Meanwhile the Numidians had attacked Gades, so the Carthaginians had to abandon the siege and return to Gades to fight the Numidians & clear their supply line.  The Romans wee strangely quiet on this, sitting in Numantia keeping the Spanish bottled up.

In the east, Mithradates withdrew from Decumantes back to Athens fearful of attack to his southern flank.  The Macedonians were left to besiege Decumantes reinforced by one Pontic division.   Last turn the Gauls & Germans had been defeated at Decumantes by a larger Pontic & Macedonian army. The Gauls had retreated to Parma & the Germans to their heartland.   This year the Gauls have returned to Decumantes with Roman reinforcements and now have the numbers on their side.

In the centre, the Macedonian fleet has sailed to Syracuse where the Roman fleet has came out to fight.

Battle of Gades
The Numidians are in the foreground.  Only their light cavalry and infnatry are on teh table, the rest of the army is out of sight of the nemy (it could be behind the ridge or in the woods on the left).
The Carthaginian warbands in the centre have charged in the centre and one of the Numidian cavalry divisions broke immediately.  The Numidian infantry has been put down - they were behind the ridge.  At this point the Numidians decided they coudn't win and ordered a general withdrawal.

Naval Battle at Syracuse
The fleets are evenly matched except that the Romans have a new 5er with a raw crew.
 As usual in these naval battles things soon got too messy to adequately describe.
But the end result was decisive.  Only 2 Macedonian ships escaped - their 5er and a trireme.  They did succeed in sinking the Roman flagship, but not until the Roman marines from it had boarded and taken a Macedonian trireme.  So the Romans still have 6 ships though are a bit down on rowers. 

Second Battle of Decumantes
This was to be fought last Tuesday, but SteveJ couldn't make it, so his enemies did some tactical exercises (which cannot be described for operational reasons).  It is now scheduled for next Tuesday. 

Thursday, June 11, 2015

Bolt Action Tank War at Good Games

Mark's Germans v. Jim's British

1500 points Bastogne Scenario form the Tank War book (modified because we had British not US).
The scenario allows the Germans 2 units in the central village, half their units in their 1st wave coming on a short edge (near end) on turn 1, the rest in reserve, coming on turn 2 or later.  The allies have half 6" onto their short table edge & the rest in reserve on turn 2+.  
The Germans have 2 panzergrenadier platoons in the village and 3 MkIV's and a Tiger coming up in support.
The Brits have 2 infantry, a 25 pdr, a piat, a bug, a HT, a Cromwell, 2 Shermans & a Firefly.
The Panzers take cover in the trees & village and take on the Brit armour.  The Brit armour fire back while their artillery fires at the houses and the infantry advances on the village through the trees. 
The tank fight is singularly ineffective with both sides continually missing their targets, or when they did hit failed to get kncokouts.  The piat team however rushed up through the cornfield and caused a lot of grief to the Tiger & Mk IV on the right although not actually knocking them out. 
The British fire broke the morale of the panzergrenadiers in the houses and the Brit inf occupied the house next to the cornfield to dispute the objective (the road junction).  But two Panzers remained within 3" of the objective when time ran out, so the battle was a draw.

Tuesday, June 09, 2015

Battle for the Oasis: Crusaders v. Saladin

Mike & Marks' Crusaders v. Jim's Saracens

Both sides had 3 divisions.  Naturally the Crusaders had less troops, but more armour.  There is an oasis in the centre of the table.  The two armies start deployed on ridges on a diagonal.  The Army Break Tests is modified in that any units in the oasis are not subject to it (logic being - why would you leave the water to die in the desert).
The Crusaders are on the left.
The Crusaders were content to make a slow steady advance - which some bad command dice often made no advance at all.  The Saracens rushed for the oasis with their foot with cavalry on both flanks.
The horse archers spread advance on each flank to harass the Crusader knights.  The Saracen infantry form a defense in the oasis with their heavy cavalry on each side.
The Saracen cavalry on the near side of the oasis charged the Crusader crossbowmen in the centre of the line, but failed to break through then pulled back as the knights advanced on their left flank ignoring the not very effective fire of the horse archers.   On the far flank the Knights Hospitaller are advancing on the enemy cavalry.
The Saracen heavy cavalry is pulling back con both flanks trying to buy enough time for the horse archers to get effective.
The Knights Hospitaler are driving the Saracen cavalry back, but their impetuousity has exposed their flank & some of the Saracens are counterattacking.  The Saracen left is still firing & with drawing.  The Crusaders are intent on taking out the enemy horse  & have made no moves on the oasis.
The Saracen right has broken and their left is being driven from the field.
The Saracen cavalry has been defeated, but their foot in the oasis is immune from the Army Break Test.  The Crusaders only make one attack before time runs out and it is beaten off.  So at dusk the Saracen cavalry has been broken, but their foot hold the oasis while the Crusader army is dying of thirst.  Neither army has broken, so according to the victory conditions for the scenario it was a draw.  One would think that in real life the Crusaders would stop at nothing to reach the water, but the Sarecens would very likely slip away in the night after thoroughly polluting it. 

Sunday, June 07, 2015

Campaign Battle at Decumantes (Germanica)

The barbarian confederation of Gaul and Germanica are defending the Germanican capital against the might of Pontus and Macedon.  The barbarians are outnumbered by 33% but on the defensive and have chosen a battlefield with a narrow front between forests.
This is the largest Hail Caesar battle we've ever had & combined with the restricted front  it means both sides are deployed in multiple lines.  The barbarians are on the right.
The Pontic/Macedonians have deployed their cavalry in front of their heavy infantry and are making a steady general advance.  The barbarians have moved their cavalry to the front and are advancing in the woods on both flanks.
The first clash of the battle is left of centre where the Gallic horse have been charged by the Ponts and have recoiled from all three combats.
The German cavalry fared no better against the Macedonian horse and it too recoiled from the initial combat.  A second charge of the Pontic horse has broken the Galic cavalry division completely. 
The barbarian cavalry were a bit weaker than their opponents, but dice like this did not help.
The German cavalry soon followed their Gallic comrades heading for the rear. 

Having lost both cavalry divisions while barely scratching the enemy horse, the odds against the barbarians have grown from an unattractive 33% deficit to impossible.  The barbarians take advantage of the gap remaining between them and the enemy to retreat.

Tuesday, June 02, 2015

Hail Napoleon 28mm

The Mare Nostrum battle at Decumates had to be postponed again - this time Steve had to take a sick cat to the vet.  So we introduced PeterC to Napoleonics Hail Whoever style.

Mike & Peter's French v. Mark's Austrians

Both sides have 2 infantry divisions, 1 cavalry division & 3 guns.  The Austrians have slightly better cavalry and an extra grenadier and Landwehr battalion.  The French have command 9 to the Austrians 8.  The French have better skirmish ability.
The French are on the right.  They have advanced with their right flank infantry followed up with their cavalry.  The Austrians are trying to redeploy their right but are making rather a mess of it due to a blunder and hot shooting by the French gunners.
The French column attack has had mixed fortunes with some columns stopped by defensive fire, but others pushing the enemy back.  The French command are debating what to do next.
The French infantry have renewed the attack and are pushing the Austrian left flank off the table.  The cavalry have met in the centre with the French being thrown back losing their cuirassiers.
The Austrian left has been driven off the table.  Their cavalry counterattack has been repulsed with another loss.  Their right flank infantry is still in disorder and has lost heavily to artillery fire.  The Austrians have not yet failed an Army Break Test, but their commander could see no hope and has conceded the battle. 

Monday, June 01, 2015

Kingston Kup 2015 FOW Tornament

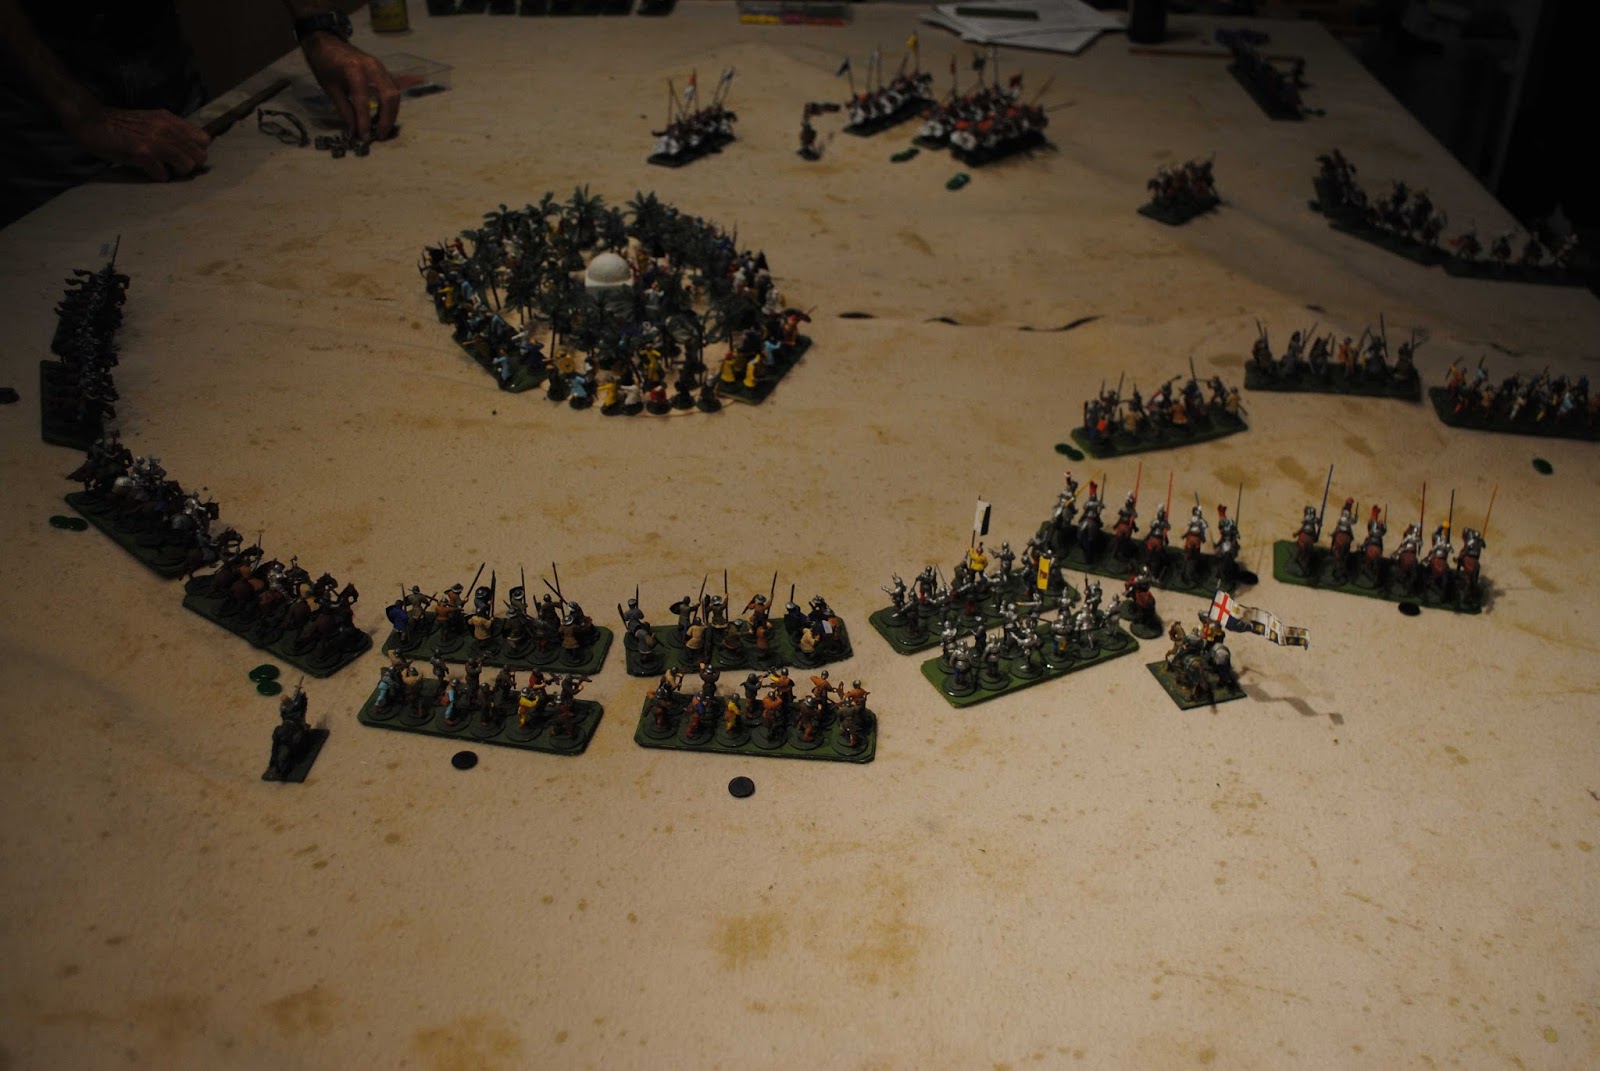
The Kingston Bunker Rats' annual Flames of War tournament was run this weekend at the Battery Point Community Hall.  

The format was Late Late War with escalating points lists of 1250 point for round 1 Counterattack, 1350 for round 2 Breakthough, 1750 for rounds 3 Domination,  & round 4 Hasty Attack and 1945 for round 5 Cauldron.

16 players took part including 5 mainlanders from the Monday Knights and 4 Camp Cromwellians.  Team Cromwell comprised Jim Gandy (Panzer), Leigh Watson (Panzer), Mark Oakford (US Armour) & Chris Arthur (Soviet Motostrelk).

Round 1: 1250 points Counterattack.  I had the good fortune to draw Andrew Oates of the Monday Knights, arguably the best FOW player in the country.  It was pleasure to play him - he knows the game so well, makes no mistakes but is an affable opponent as well.  The mission/table combination suited my army, I had a good plan & could easily have won but for some bad dice at critical times.

Round 2: 1450 points Breakthrough.  Again I drew one of the Monday Knights' gun players.  This time it was blue on blue and the terrain did not suit me, providing too much open space for the enemy's expertly handled 88's & Panthers.  I also learned the hard way about some of the newer rules & troop types.

Round 3: 1750 points Domination Mission.  A good plan and a bit of luck gave me a quick & decisive victory v. the Soviets.

Round 4: 1750 points Hasty Attack.  Another blue on blue. Faced with a killer list with Panthers & 88's on an open table I needed either enemy mistakes of a lot of luck.  My 14 year old opponent made no mistakes and there were no miracles from the dice gods.

Round 5: 1945 points Cauldron.  Yet another blue on blue.  I defended a Cauldron on table where snow made all but the roads slow going.  This time I had places to hide from the Panthers & a good plan with good luck gave me a big win.

Last year the Monday Knights were beaten into 3rd place by the Bunker Rats & Camp Cromwell, but they came back with a vengeance this year.   Andrew Oates came 1st and other Knights came 2nd & 3rd.  The Knights won the team trophy easily.  Camp Cromwell came second in the teams comp in a close contest with the 2 other Tassie teams (aided by the fact that some top Bunker Rats were running the show and not playing). 

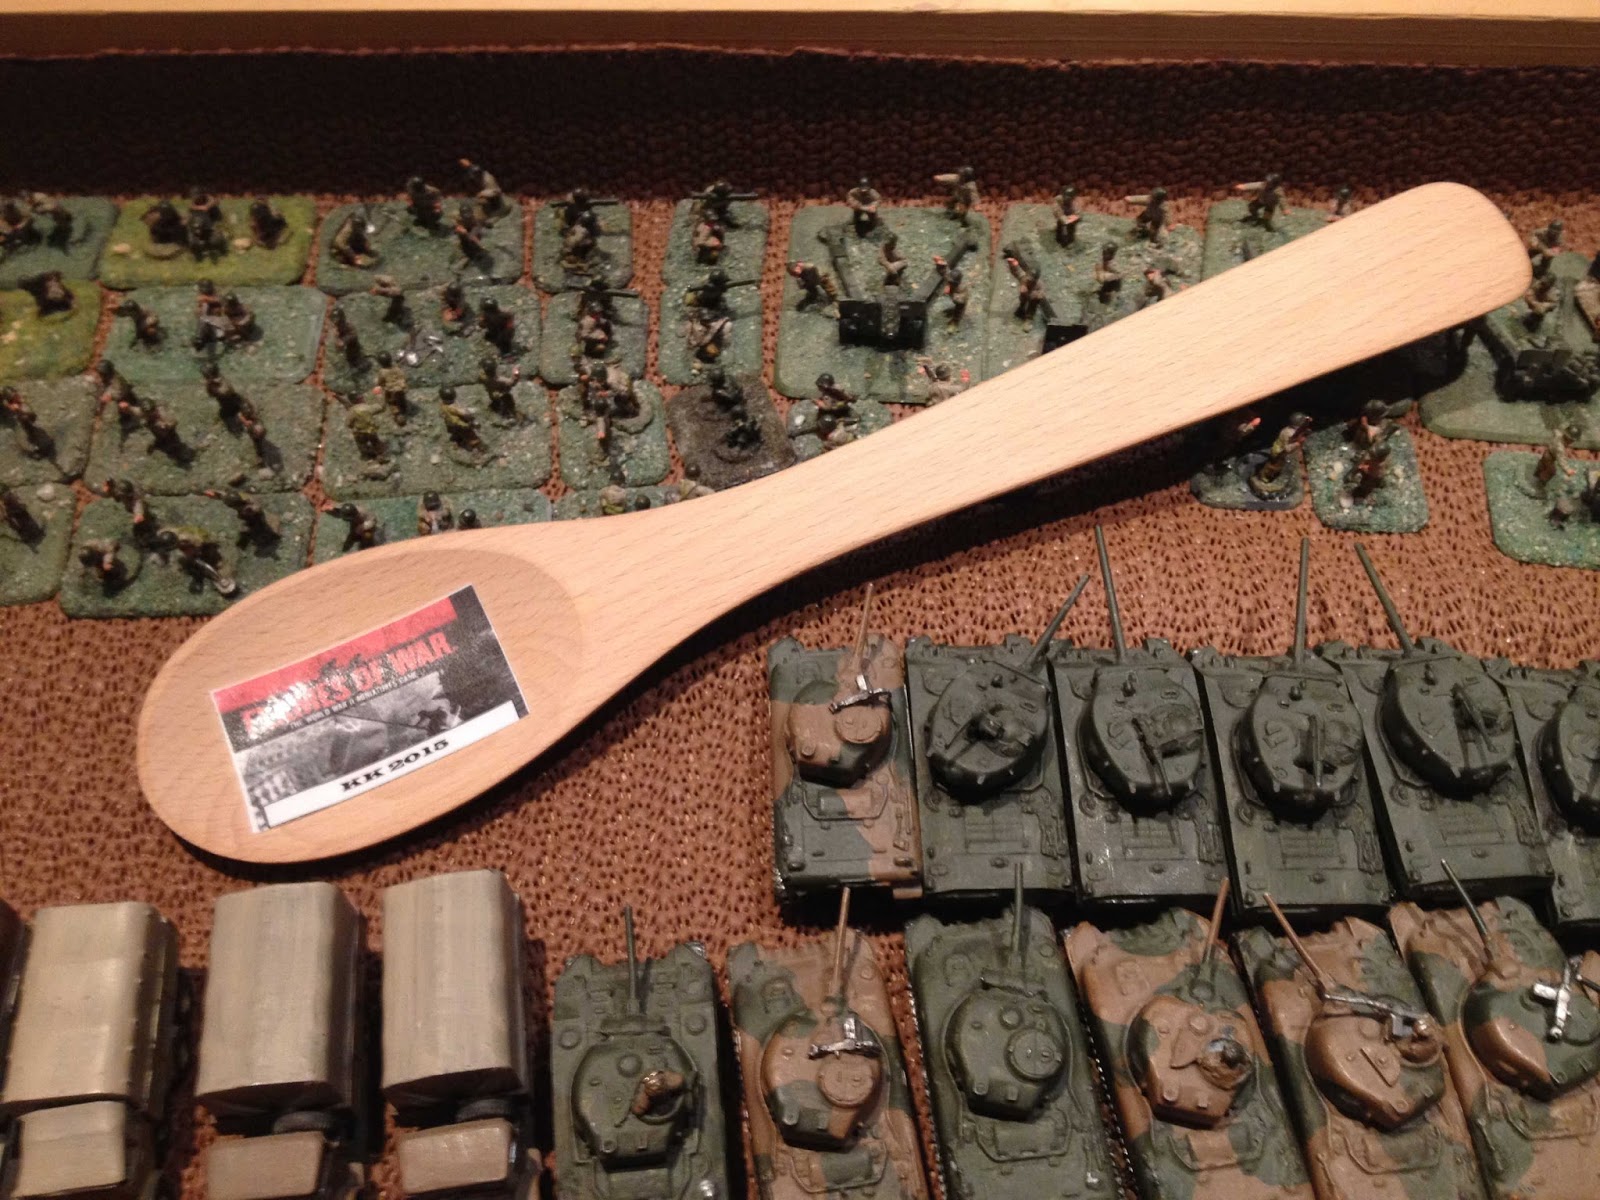
Leigh did best for Team Cromwell with 3 wins, Oakie & I had 2 wins while Chris at least got a trophy with no wins.


As always with the Bunker Rats, the tournament was very well run and the terrain excellent. 

There were 4 aspects that I didn't much love which I mention only as constructive comment: 
1) The points escalation system seems a lot of maths for no gain I could see.
2) Late Late War is where you get the worst of FOW's recent proliferation of Mickey Mouse rules & lists. 
3) Too many blue on blue games.  I would have changed to allied if I'd known that the number of Axis v. Allied entries was unbalanced.
4) They used the straight FOW Victory Points system which I think is silly (though on this occasion I suspect it favoured Team Cromwell - we didn't win a lot of games, but scored well when we did).
But these are just my own peccadillos, no big deal.  I had a great weekend regardless, and many thanks to the Rats - Nick Ridge & Patrick Oxborough in particular.