Wednesday, November 24, 2021

ACW 15mm

Union: Jim & SteveJ
CSA: Mark & Mitch
Both sides had 6 brigades of 6 regiments of inf & 1 brigade of 4 regs of cavalry.  The union had 6 guns to the CSA's 4, but the CSA had a Stubborn rule allowig them to take more casulties before breaking.
Deployment was simultaneous with troops out of sight of not put on the table.  (Areas of dead ground were marked with a numbered card & the troops in those areas were kept off table with a corrsponding card face down).
Rules: Camp Cromwell house rules.

View from the Union side.  Most troops still out so sight of the enemy so not on table.
Both sides have now advanced troops into sight on the their right flanks.
The Union are deploying their left in defensive terrain.
The CSA are pulling their left back to a line on the ridge & the creek.  
After a pause for their artillery to silence the CSA battery on the ridge, the Union right is advancing. behind a skimish screen. A skirmish fight is going on on the left.
On the far flank the Union left has fallen back in the wood to a new line in the fenced fields.
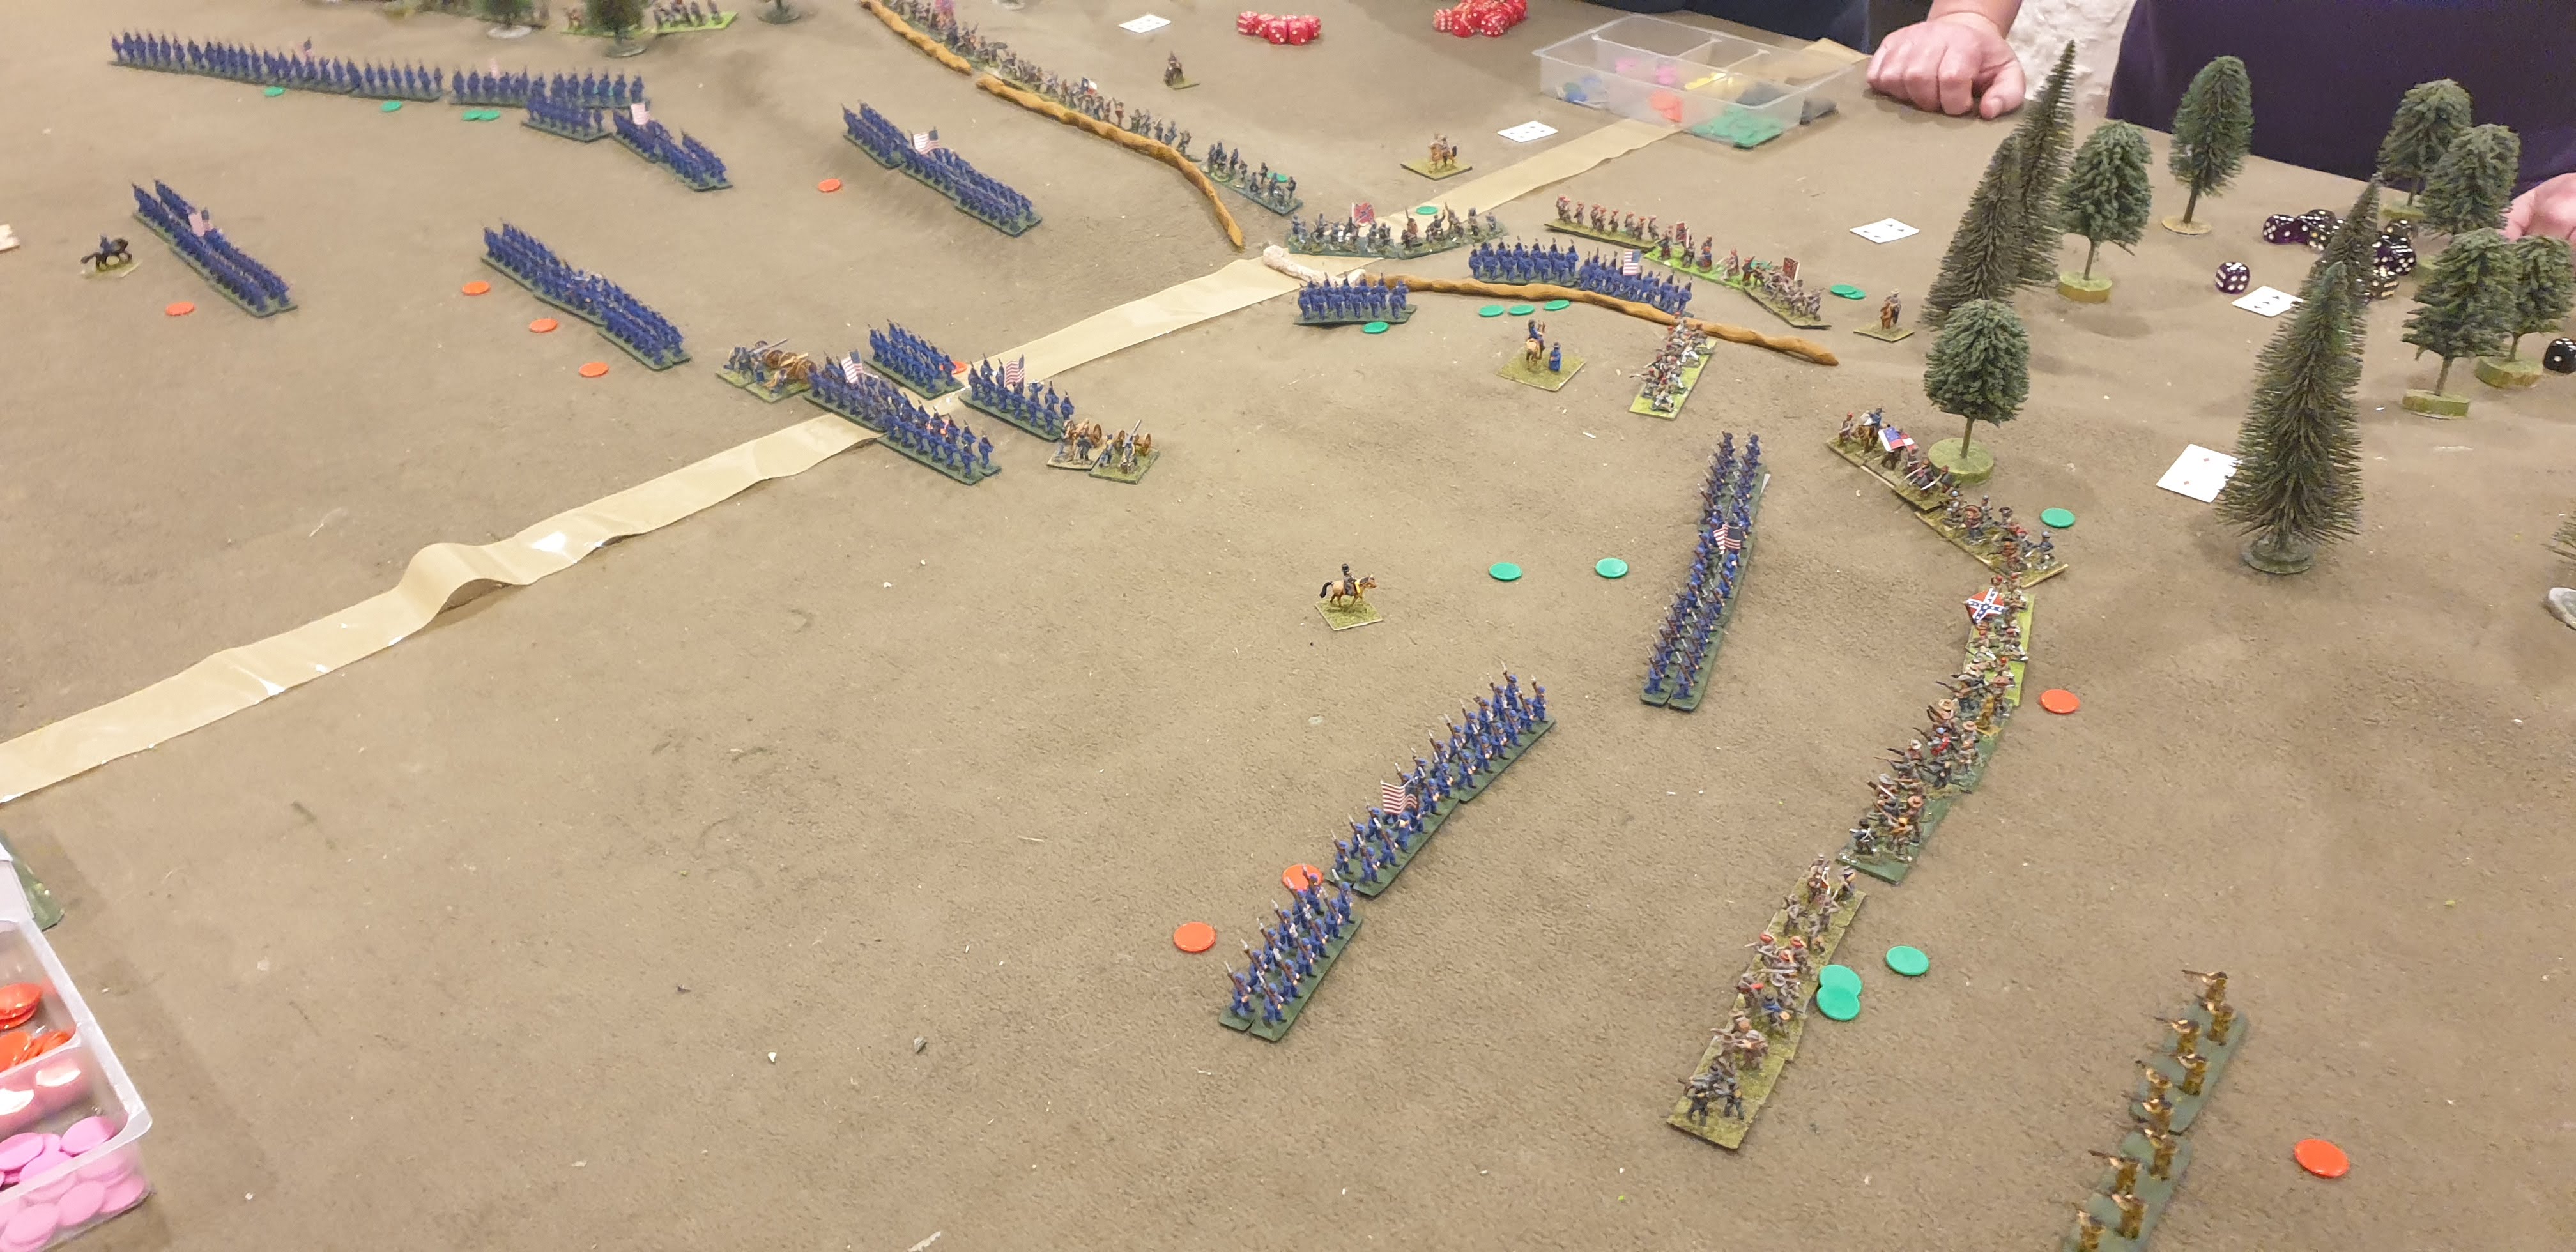
On this flank dismounted CSA cavalry have crossed the creek to flank the Union infantry, but Union cavalry have moved up & dimounted to counter the move.
In the centre, the Union skirmishers have fallen back as the main line advances into musket range. 
On the far flank the CSA have had second thoughts about attacking the Union defense in the fields & have called off their attack there.  In the centre the fire fight continues along the line.
The Union have taken significant casualties, but the CSA have fared worse with their centre falling back before the Union advance.   

At 10 o'clock real time, time was called.  The Richmond Times will spin a victory out of holding off until nightfall, while the Washington Post will trumpet a great victory with the Union army forcing the CSA to slink off under the cover of darkness. 

So why did the Union win?  The Union left used the woods & farm terrain to keep 3 brigades of CSA infantry busy with just 2.  This gave the Union a 4 to 3 advantage in the centre.  The CSA had a ridge & river line to defend, but their line was compromised by the angle in the their line allowing converging fire.  A steady Union advance relying on musket & artillery fire rather than the bayonet won the day .

Thursday, November 18, 2021

American Civil War 15mm

Renfrey's Confederates v. Jim's Union
Both sides had 6 infantry brigades of 6 regiments & a cavary brigade of 4 regiments.
The Union had 6 batteries, the CSA 4.
Rules: Our M2M house rules, ACW 15mm variant.
The CSA troops are rated stubborn so theri brigades can take an extra casualty before breaking. 

The CSA are defending & deployed first.
The Union came on in columns & deployed to attack.
As the Union deployed to attack the CSA fell back a bit to reduce the length of their line & to anchor both flanks on woods.
On the left the CSA didn't quite fall back far enough & the Union has a small overlap on the end of the line.  On the right Union skirmishers have covered the advance of the main body.  In the cntre the Union have deployed their artillery in two batteries in gaps in their infnatry line. 
On the far flank the Union attack on the flank supported by artillery has broken the end CSA brigade & swpt away one of theri batteries. A fire fight is happening on the right.
On the far flank the CSA reserve brigade has counterattacked.  In the cnetre the CSA brigade in front of the church has been broken by a combination of musketry & artillery.  The fire fights continue on the rest of the line.
On the far flank the CSA counterattack is outnumbered & beginning to falter. The Union artillery dominates the centre. A desperate CSA charge on the near flank has been beaten off.  The CSA concede defeat.


Tuesday, November 16, 2021

Rome v. Carthage 28mm

Rome:  Jim & Mitch
Carthage: Mark & SteveJ
Umpire: Mike.
Rules: House rules M2M.

The Romans are on the near side of the table.
The Carthaginians have rapidly advanced their cavalry on the near flank, held their centre back & advanced their elephants in front of their cavalry on the far flank 
The Roman centre has advanced while their outnumbered cavalry is being held back on both flanks. Their plan is to smash the Punic centre while their outnimbered cavalry fight delaying actions on both flanks. 
The Roman left has been largely shattered on the first charge. Triari have been deployed to cover the infantry's flank as it continues forward.  On the far flank the triari have been attacked by elephants.
Mike's newly painted elphants are a fearsome sight.

On the near flank the Triati stand alone against masses of Punic cavaly who so far have been prevented from exploiting their advatage by bad command dice.
In the Carthaginian spearmen have stood firm with Scutari on each side.  The Roman line was overlapped on both sides & manoples of the second line have been stretched out to prevent flanking by the Scutari.
On the far flank the Triari & Roman cavalry have dealt with half the elphants, but at high cost.   The Scatari on this side of the Spearmen have counterattcked the legion's flank, but the Romans re-reployed some 2nd rank maniples to the right to hold them off.
On the near flank the Punic cavalry is  still taking its time reforming while peppering the triari with javelins.
In the centre things have gone bad for the Romans. Half the Scutari on this side of the spearmen have broken thru their line & the first line had been broken by the spearmen in the centre.  Only on the far side have the Romans done well, breaking the Scutari there.
The Roman 2nd line attacked the Punic spearmen & broke half of them, but its' too late.  The victorious Punic cavalry has finally got it's act together & arrived in the legions' rear.  It's game over for Rome.

The Roman plan nearly worked, but was stymied by the Citizen spearmen.  If they had broken, the Roman second line would have been free to counter the victorious Scutari & then hold off the Punic cavalry. 


Thursday, November 11, 2021

Ancients at Black Hills

The Persians occupy a ridge opposing a slightly larger Arab force.
Figures: PeterC's 70's vintage 25mm metal.  Rules: Camp Cromwell Houes Rules M2M. 

The Arabs are on the near side.
The Arabs initally advance only their front line of archers.  The Persians charge forward with elephants & cavalry on their left while their right & centre remain on the hill.
The Arabs have advanced their centre & wheeled their rear lines to flank the Persian advance.
The elephants turn to face the flank threat on their right with light infantry covering their left flank.
The Persian centre has now charged to support their elephants.  On the elephant's left flank, their light infantry have driven off the Arab light infantry, but Arab cavalry have found a gap to hit them in flank anyway.
The elephants have broken, the Persian counterattack in the centre has been held off & is now outflanked.  Only half the forces of either side have been engaged, but the Perisians have lost their left flank & their centre is doomed, so they concede defeat.  
 

Tuesday, November 09, 2021

The Confederates defend the pass

Union (Chris & Mitch): 8 brigades of 6 regiments + 4guns (all freshly minted 3-D printed 15mm)
CSA (Mark & SteveJ): 6 brigades of 6 regiments (all old minifigs).

The Rebs have improvised defenses thrown up across the pass flanked by think woods.  Most of their troops are out of sight, positon recorded by cards.
The Union have made a rapid advance.  
Rebs have appeared at the edge of the woods on both flanks sending skirmishers forward to harass the flanks of the Union advance.
On the far flank the Reb skirmishers have been driven back & therre is a stalemate. 
On the left of the ridge the first Federal wave has been beaten off.  The attack on the right side of the ridge has only just gone in.  More Rebs have appeared in the woods on the immediate right of the ridge.
On the near flank both sides have a brigade engaged.
The Union attack on the left side of the ridge has been broken off with heavy losses.
The attack on the right of the ridge has broken through the front CSA line.
The Union tried to support the breakthrough, but it has been halted by Reb reserves & flanked.  
View from the CSA side as the Union breakthough has come to a sticky end. 

The game was played with our M2M house rules & took about 1 3/4 hours.  


Tuesday, November 02, 2021

15mm ACW again

With the 3D printer still pounding out Union infantry we had another small ACW battle to further play test the ACW 15mm variant of our M2M house rules.
CSA: Chris & Mitch
Union: Mike & SteveJ
Both sides had 3 infantry divisions of 2 brigades of 6 regiments, a cavalry brigade of 4 regiments & 4 batteries.  These represent Corps of about 17,000 men.

The Union are on the near side of the table.  Both sides have their cavalry near the village.  The Union have an infantry division on the far right.  The CSA have all theri infantry divisions on this side of the village.
Both sides have had theri cavalry dismount & occupy half the village.  The Union division on the far right is working it's way forward thru the orchards.  The CSA are advancing all their infnatry this side  of the village.
The Union division on their left has taken up a position on the ridge.  Their centre division has advanced.  
Fire fights rage all along the line.
The Union have reinforced the cavalry in the vilage with an infantry brigade to prevent the Union wrapping around their flank. 
The CSA division in the centre has broken.  The division on their left is in dire striaghts.  Their attack on the village is getting nowhere.
The Union left is being swamped on both flanks.  The attack on the village is still biing held off.  The Union concede the battle & retreat.

The Union made a bad choice in putting a division on the far side of the village, thus giving the CSA superior numbers on the other flank.  The CSA were able to use their numbers there to effect, whereas the Union advanatage on their right was negated by the village.