Dale set up an ACW game using his Warlord's Epic Scale figures.
The scenario had Jim's Union Army of mostly green troops having to intercept & hold up SteveD's better quality Confederate force.

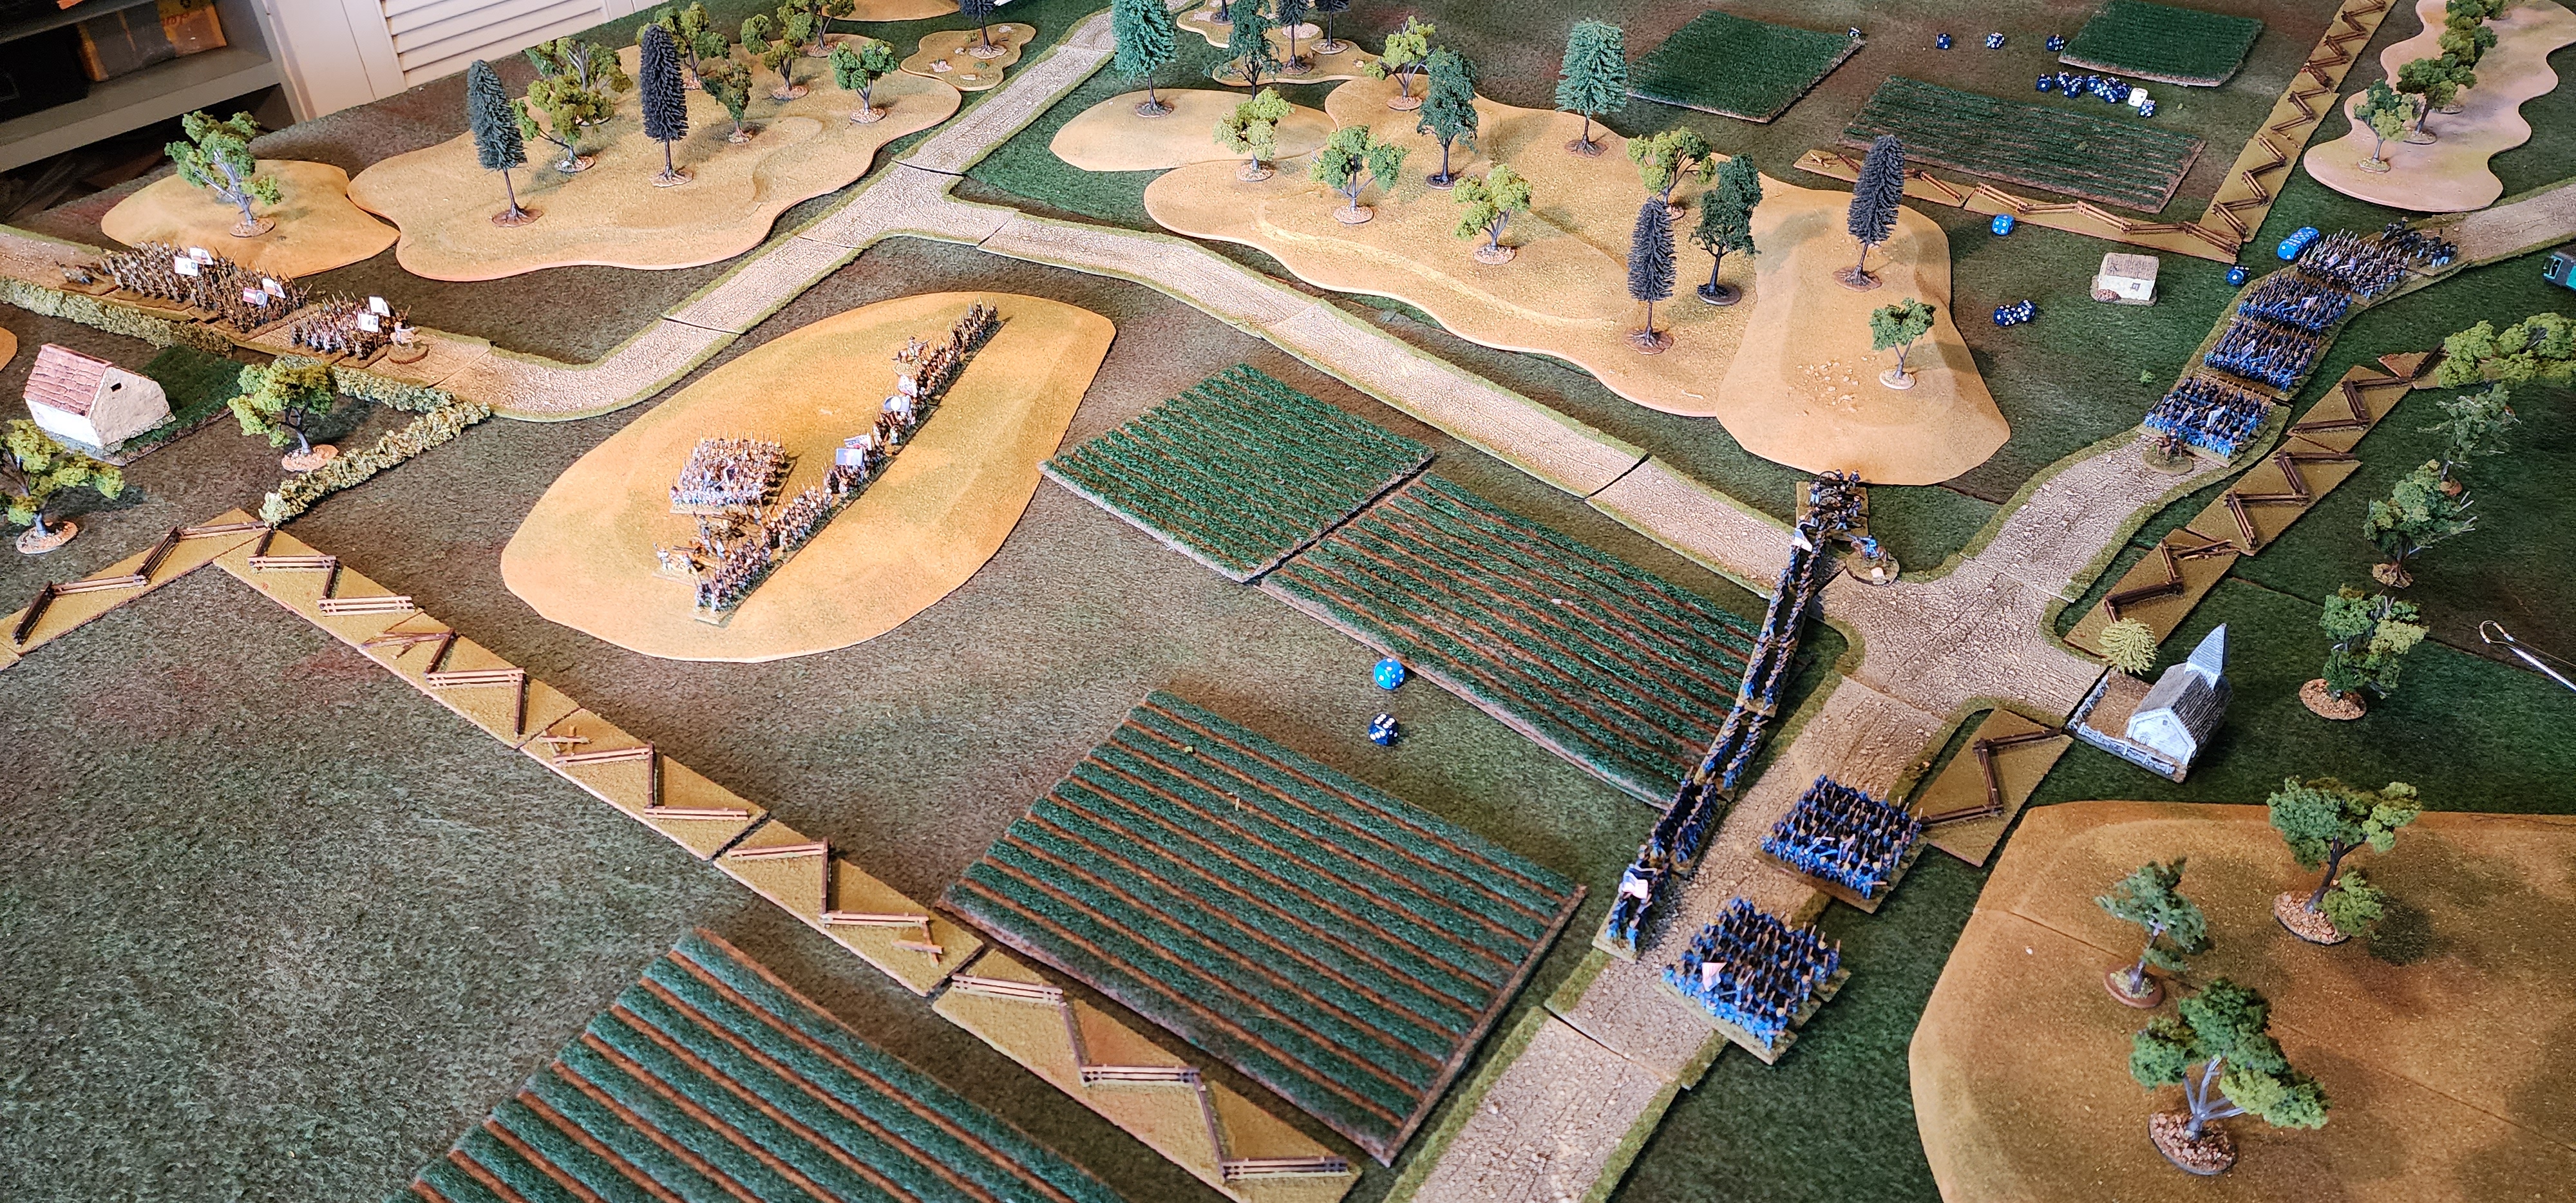


The green Union brigade in the woods has fallen back from the Confed assault. The Union counterattack on the far flank is faltering in front of the Confederate artillery.

A renewed push by the Confeds in the woods has pushed the Union left back further, but the Confed left is now retreating.

The Union command didn't listen closely enough to the Victory Conditions & the Confed move to their left worked well to help them to continue to overlook it. The Confed command claimed it was their plan all along.
This was my second game of Picket's charge & I did enjoy it. As I said in my previous report I think they give a pretty good simulation though the mechanisms are bit over complex for my taste. But in a game run by an umpire who knows the rules you seem to be able to do pretty well by military principles without needing to know the rules chapter & verse.
No comments:
Post a Comment