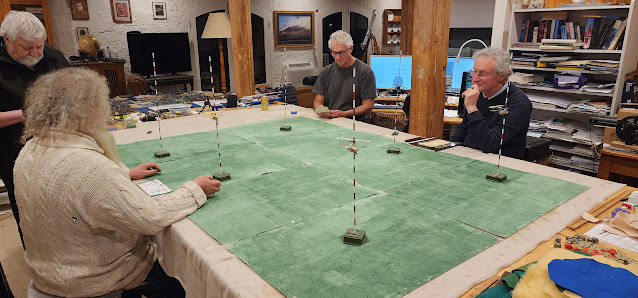
Saturday, June 29, 2024

Napoleonic Naval

French: SteveD with 1 1st rate & 3 3rd rates.
Spanish: Chris with 1 1st rate & 3 3rd rates.
Brits: Jim with 2 squadrons each 1 2nd rate & 2 3rd rates. 
Random deployment.

Spanish far LH corner. French centre RH side.
Brit 1st squadron LH centre, 2nd squadron near corner.
Wind directly behind the Brits.
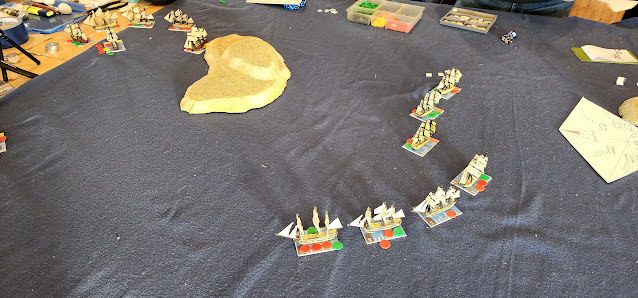
Your reporter got carried away chasing Spaniards & forget to take any pics until after smashing through their squadron with both broadsides double shotted. Two Spanish ships have struck their colours.  The two survivors are sailing this side of the island while the Brits are sailing around the other side. 
Meanwhile the French were working their way upwind to intercept the Brit 2nd squadron. 

The Brit 1st squadron have intercepted the remaining Spanish ships which have now struck their colours.
The French & 2nd brit squadrons have sailed past each other exchanging fire at close range.  Both sides have suffered significant, but not fatal damage - enough to dissuade both from wanting to renew the fight.   The French sailed off cursing their incompetent Spanish Allies.  The Brits were content to have taken all 4 Spanish ships. 


Tuesday, June 11, 2024

Napoleonic Naval

British: Mike, Chris & Steve each had a squadron of 3 ships. with with crews
French: Jim had a squadron of 4 ships & a squadron 3 ships with regular crews.
Spanish: Mark had a squadron of 4 ships with raw crews.

Random deployment put Mark's Spanish in the far LH corner, Mike's Brits in the far RH corner, Chris & Steve's brits on either side & Jim's French in the near RH corner.  Chance decreed the wind to be coming from the wast - the end of the table nearest the camera. 
We had to move the ships 12" to the north twice to keep them on the table as the ships generally moved that way.  
Chris sailed down on the Spanish as they sailed north away from Mike.
Jim descended on Steve & with 7 ships to 3 soon sunk the Brit 3rd at the end of the squadron.  
Chris crossed the rear of the Spanish squadron & sunk the tail end ship, but the Spanish wore ship & engaged to inflict significant damage on the Brits.
Steve's 2nd ship had to strike it's colours as the admiral made his escape.
The Spanish broke off from Chris' squadron, but the brit squadron was so badly damaged it too stayed out of further action.
Mike & Jim's 1st squadron engaged each other as they came past the island.  The French thought that with 4 ships to 3 & 2 more coming up they had a good chance of a great victory, but the combination of superior British gunnery, damage inflicted by Steve & better British dice soon turned the tables on the French.  They inflicted serious damage & one Brit ship even had to strike its colours, but all eventually all 4 French ships of the squadron had to strike.

The Brits recovered one of their struck ships, but lost one sunk & one captured plus every ship had serious damage while they captured 4 French ships.  
The Spanish considered themselves having done really well to get away with only one ship lost & having severely damaged a British squadron.  
The French lost a whole squadron of 4 ships captured, but the 2nd squadron sailed home with only the flagship having significant damage & a captured British 3rd rate & news of sinking another.
So clearly a British victory in the Times while le Bulletin & el Mundo didn't have to stretch the truth as much as usual to also claim a victory.

The lesson we learned from this battle was that the weather gauge is a two edged sword.  If you have it, you can control the action & have scope for decisive action, but if things go bad, you cannot get away.  Once Mikes' squadron got on top of the French to windward of their line, the French couldn't break off the action by turning & running away downwind.   


Wednesday, June 05, 2024

Modder Fokkers

 Tonight we got out the WWI aircraft for two 6 player games using our Modder Fokker rules.

Steve, Jim & Chris all flew Fokker DVII.
Mike, Mitch & mark flew Camels.
Each plane's starting position was decided by drawing cards, so one plane in each corner & at the midpoints of the long sides of the playing area.

Game 1 starting locations:
                Mike's Camel            Steve's Fokker                  Mitch's Camel
                Marks's Camel          Chris' Fokker                   Jim's Fokker.


In this dogfight Chris & Steve shared the kill of Mitch's camel, but then Mark shot down Chris.  Steve was badly damaged & ran for home leaving Jim's undamaged Fokker facing two Camels with moderate damage.  After a bit more skirmishing, Jim also ran for home.  So kills equal but a  inor win for the Brits as they held the filed.

Game 2 starting locations:
                Mitch's Camel,                 Steve's Fokker                    Mark's Camel
                Mitch's Camel                  Jim's Fokker                       Chris' Fokker      

In this battle Jim & Chris tried to combine on Mark's Camel, but Mike arrived to help before serious damage was inflicted on Mark's Camel.  Mitch by-passed Steve & took on Chris while the other 2 camel's attacked Jim.  Jim was wounded by a lucky shot & ran for home rather then fight disadvantaged against 2 camels.  The 3 Camels then converged on Chris & before Steve could get into the action chris had sustained so much damage that he too ran for home.  Steve then took on all 3 Camels evading serious damage, but the task was too great & he too eventually broke off & ran for home.  So while no planes were shot down, once again the brits won a minor victory by holding the ground.