Mike's Covernanters v. Steve's New Model Army:
A pike & shot era battle fought using Hail Caesar rules
Followers of this blog will know we have been using both Hail Caesar and Pike & Shotte. The 2 systems are very alike, and we find that similarity both a blessing and curse. It's easy to pick up one after playing the other, but when you flip from one to the other and back again, it is very easy to get confused where they differ. I have always had the view that war didn't change much because of the musket - the big change was the bayonet, that Renaissance warfare was more like ancient warfare than war after 1700. The bayonet caused the change from deep formations and separate shock & missile troops to linear formations of uniformly armed troops. In most cases where they differ, we prefer the HC system so why not use HC for the pike & shot era.
It took less than a page to write out a Hail Cromwell addendum to Hail Caesar. The main issues are:
1) Troop characteristics - making a table of ECW troop types with characteristics compatible with HC (with higher numbers of dice than P&S to balance higher stamina).
2) Shooting - use 4+ to hit normally, 3+ for close range as in P&S to reflect more firepower.
3) Modifying the disorder test for shooting.
4) Using the P&S "Useful Rules" and other rules specific to the period like Hedgehog where appropriate.
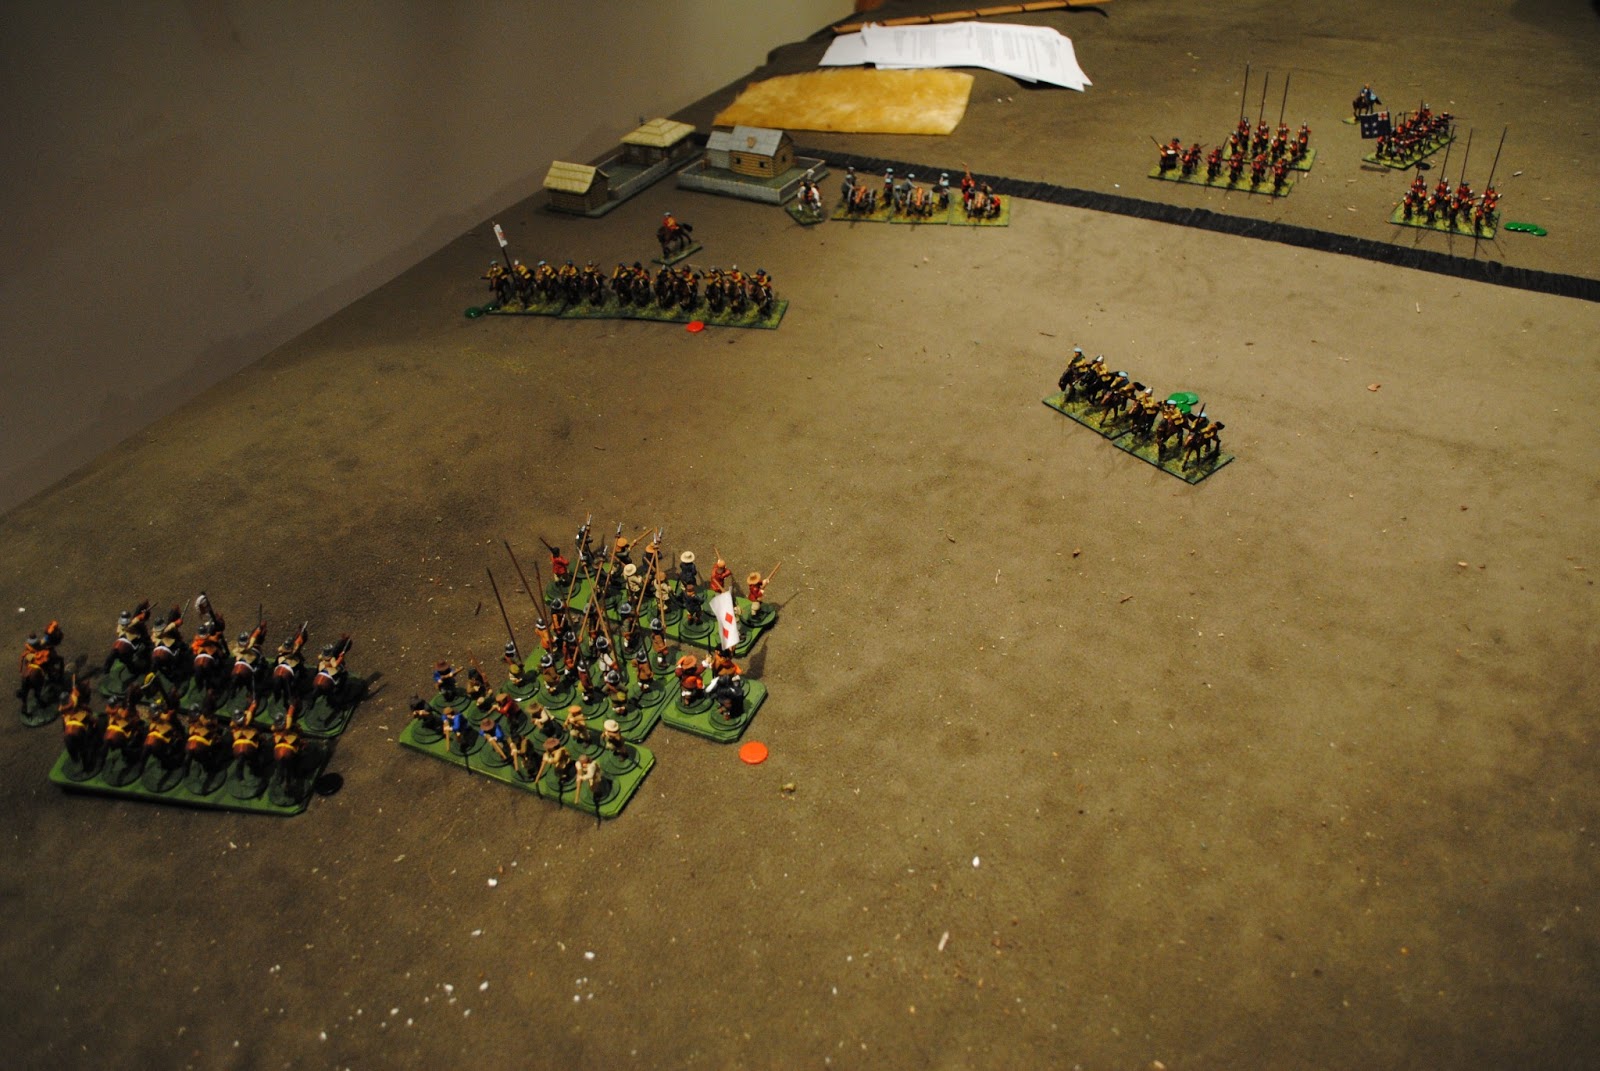
The Scots are on the left with 1 cavalry division on their right, then 3 infantry divisions each of 2 pike & 3 shot plus 3 guns. The New Model has 2 infantry divisions of 1 pike & 3 shot with 2 guns plus cuirassiers on the left and horse on their right. In the first turn the NM cavalry has advanced.
The NM left advances. Their horse has swung left towards the centre, but the foot on the right has not advanced in support.
The battle has split into two. The NM horse on the far flank has been left exposed and is being pasted by musket fire. The NM infantry on the near flank as advanced too boldly and under pressure from foot and horse.
The far flank has sorted out into a clean line, but the NM horse has been mortally weakened by musket fire and is falling back leaving the NM foot outnumbered.
On the near flank the NM infnatry is in hedgehog and under pressure from pistol & musket. Their cuirassiers tried to get around the flank, but were headed off by Scots pikes.
On the far flank the NM foot are on the verge of breaking, but their pikes are counterattacking anyway and driving the Scots back.
The pikes held off the first attack, but the second charge on the flank actually broke the pikes (the 3+ save can be a powerful thing). The Scots foot on this flank were broken, but surprisingly, the Scots horse stopped the follow up (with ab it of help from NM blunders). Meanwhile the NM foot continued to pass Break Tests under the Scots caracole.
The near flank has ended a stalemate as the Scots horse withdraw to let their artillery fire at the hedgehog.
On the far flank the NM pike counterattack put a scare into the Scots, but 1 unit can only do so much. Finally both surviving foot units were shaken and the division was broken. The Scots musketeers then advanced & finished off the NM horse to break the NM army with 2 of 4 divisions broken.
So how did using HC affect the battle? Tactically it worked out very much the same as if we'd used Pike & Shotte, but as both players and the umpire are more practiced with HC than P&S it was a whole lot easier to play with much less looking up of the rules. We think the experiment was a great success and will continue with it. We liked our revised disorder test under shooting so much we intend to try it with ancient HC as well.


No comments:
Post a Comment