Jim's English v. Mike's Scots
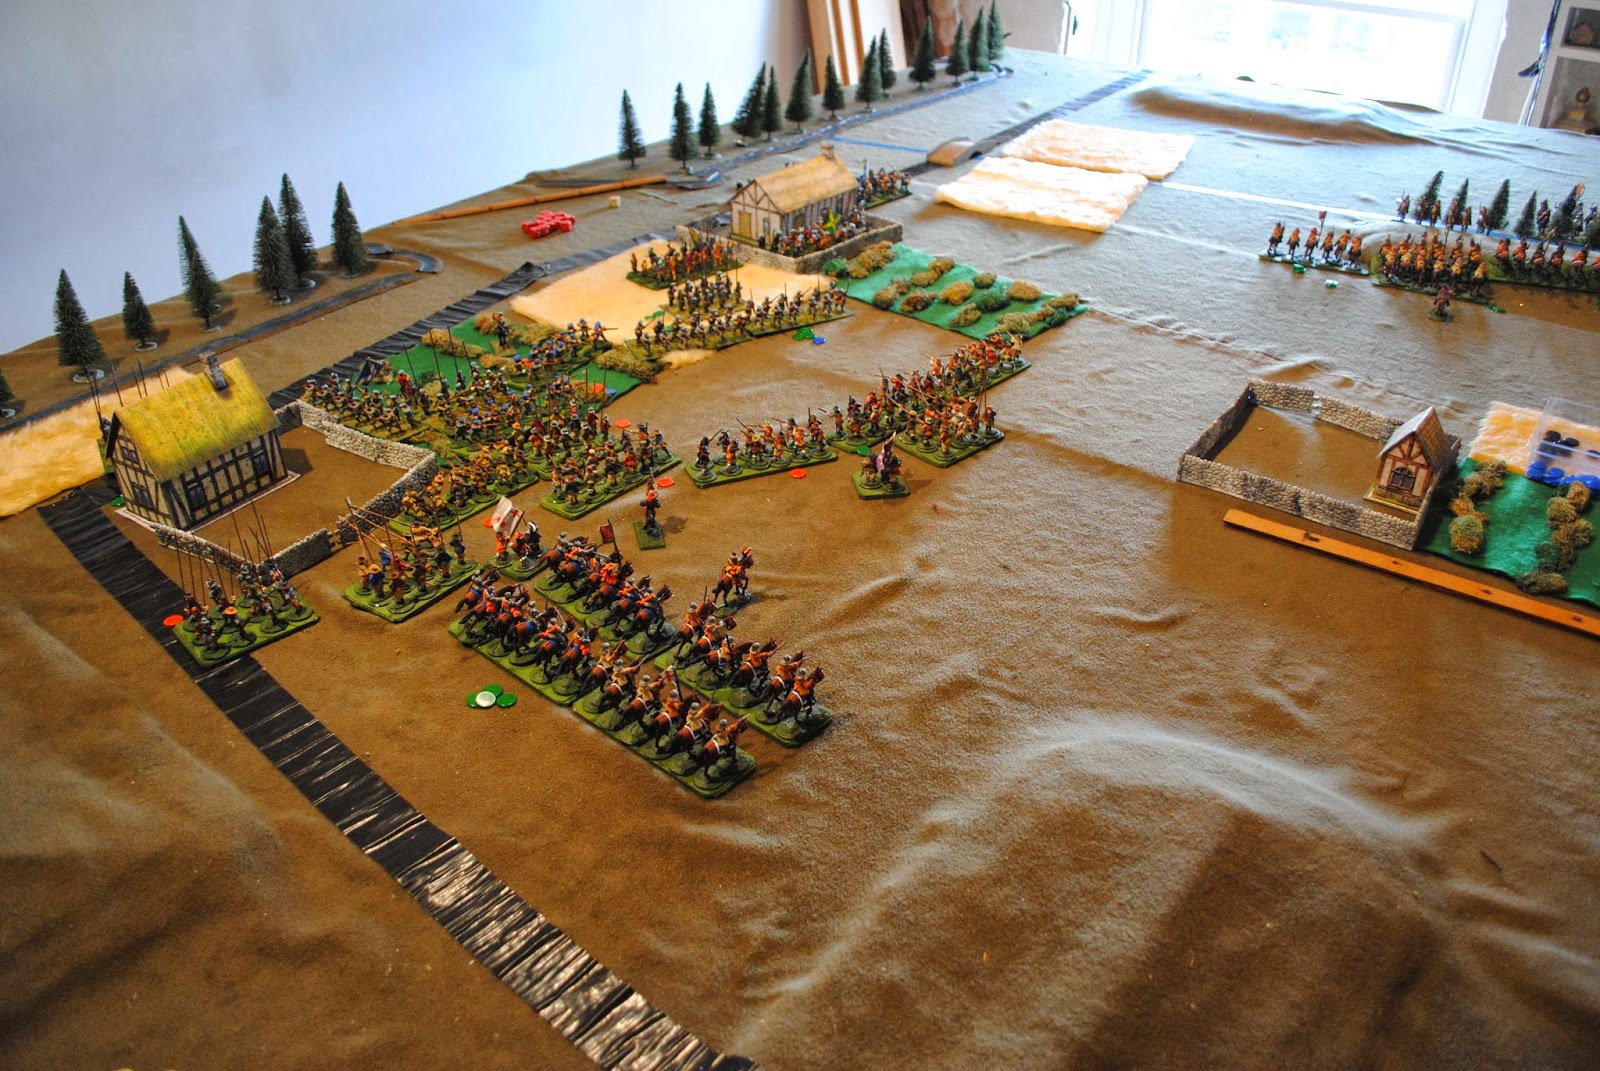
We had another go at the Road to Damascus scenario from the Hail Caesar book, this time using English Civil War armies. The scenario has 2 Scots divisions holding patch of farmland with 3 divisions coming down the road off to the right of the first pic. The English have 5 divisions coming on the road left foreground and win by getting most of their army across the table through a gap in the rivers just off pic to the right.
Cromwell sent his lead cavalry/dragoon division down the left while his 2 infantry divisions came on and deployed. The initial charge was repulsed by the Scots medium cavalry.
The Scots followed up their success and broke Cromwell's lead division.
Cromwell's deployment proceeded slowly, but initial success gave the Scots perhaps a bit too much confidence and their holding force advanced out fo the farmland.
The Scots tied to get at the right flank of Cromwell's foot, but it got into a position with the farm on their flank in time. On the near flank the Scots cavalry tried to break the English flank, but the musketeers took them on without forming hedgehog & beat them off.
Cromwell was getting frustrated with bad command dice (again), but his musketeers also saw off a cavalry attack on the right, his foot was finally getting to grips with the enemy and his 2nd & 3rd cavalry divisions were getting into position.
Cromwell finally got a good command roll & his left flank cavalry charged. The cavalry on the other flank was making slow progress through the fields.
On the near flank the English cavalry has broken the weakened Scots and this has allowed the English foot to wrap around the Scot's flank. He pulled the successful cavalry back rather than send it into defended farm land.
The Scots blocking force attacked front and flank should have broken, but it hung on, one bad break test from breaking. The English cavalry is refusing to move despite having Cromwell's re-rolls.
The Scots blocking force somehow continued to hang on as the 2nd infantry division comes up to help out. The Scots highlands are dithering in the rear - probably concerned about the English cavalry, not expecting them to stand & do nothing -a s they continue to do. On the right the Scots cavalry is being driven back.
On the far flank the Scots cavalry has just managed to escape over the ditch, but they kept Cromwell's 3rd cavalry occupied. The highlanders are slowly redeploying as a second line of defence. The Scots pike & shot have consolidated their defence. The moment for Cromwell's 2nd cavalry to be decisive has passed in inactivity. Trying to move them to the right was possibly Cromwell's critical mistake. Even if they had only pinned down pike & shot behind the village, it would have helped the foot take it.
At this point we had to call time as Mike had to go home & put the chops on the barbie. The Scots had held the position and could claim victory even though they had lost more casualties than the English. The English had their chances, but never quite managed to take them.


2 comments:
Allah be praised
I'm new to this blog, but this was a great battle report. Really, drew me into the action. Thanks!
Post a Comment