Jim's Crusaders v. Chris' Saracens.
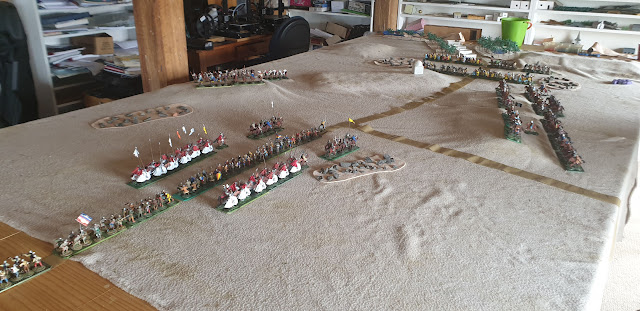
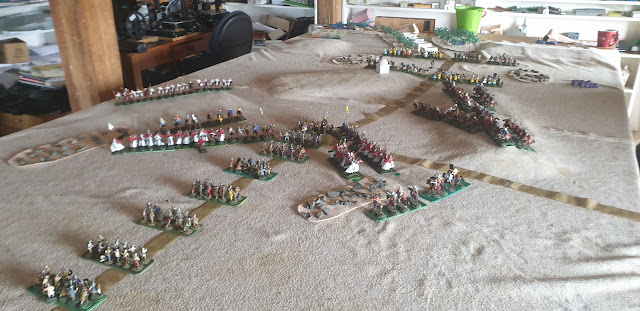
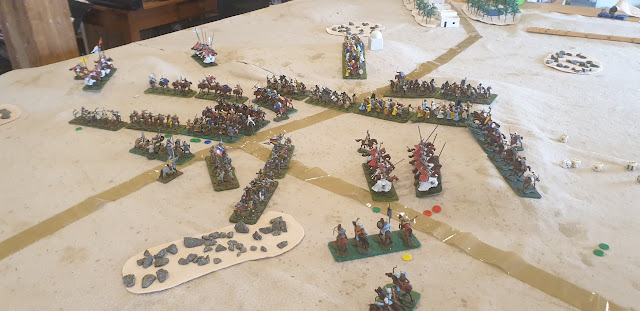
As usual the crusader column is marching across the desert towards an oasis only to find a Saladin in the way. Saracen horse archers rush forward to start peppering the crusaders as they deploy. The Saracen heavy cavalry take up positions on the crests of ridges.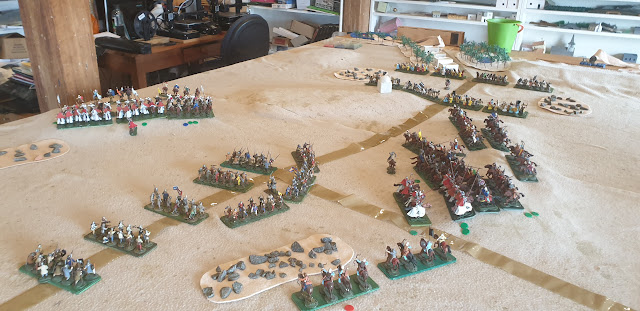 The Crusader cavalry charges up hill at the Saracen cavalry as their foot begins to deploy. The Saracen horse archers evade & their heavy cavalry countercharges. The Saracen foot is advancing to support their cavalry.As cavalry melees rage on both flanks, the unengaged Saracen cavalry charge the head of the Crusader infantry column.On the left the Crusader cavalry has won their fight but only have one unit left fit to fight.
On the right the Crusader cavalry has defeated the Saracen horse but lost heavily in the process & are now in a ring of archers.
In the centre the Saracen horse has broken thru the first line of Crusader foot & has charge don against the 2nd line.On the right the lone cavalry unit is trying a desperate charge against the Saracen left, but uphill, outnumbered & bereft of hot dice it's getting nowhere.
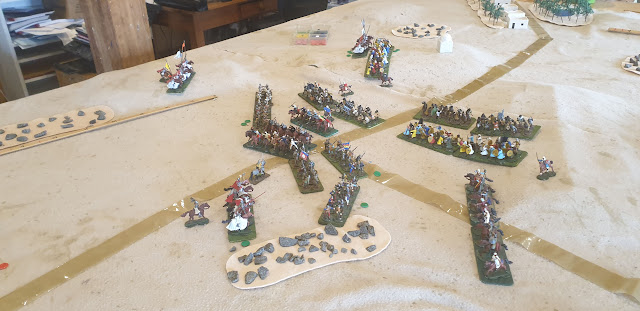
On the right, the battered Crusader horse has pulled back behind their foot under a hail of arrows.
In the centre, the Saracen cavalry has run out of steam, but has made a hole in the Crusader line first.The mass of Saracen foot is now making itself foot & one by one the Crusader units have been melting away. The Crusaders have now lost more than half their force & fail army morale.
The Crusader plan was to neutralise the enemy horse with their own cavalry while deploying their foot for a final push against the Saracen foot. The Saracens countered this by using their excess cavalry to disrupt the Crusader foot's deployment & advancing their foot so they could keep the pressure on when their cavalry ran out of steam. The Crusader foot never got properly organised & got nibbled away by cavalry changes & archery .
