Tuesday, December 28, 2021

Bull Run Day 3: Part 2

 We picked up where we left off last week.

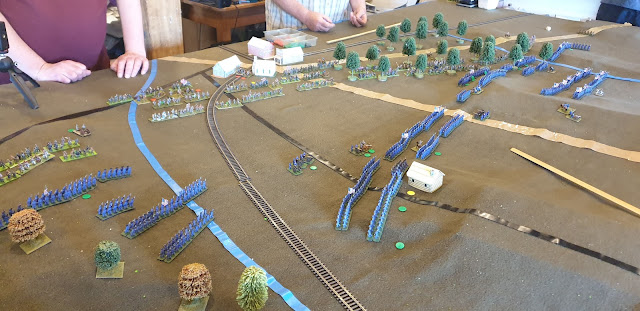
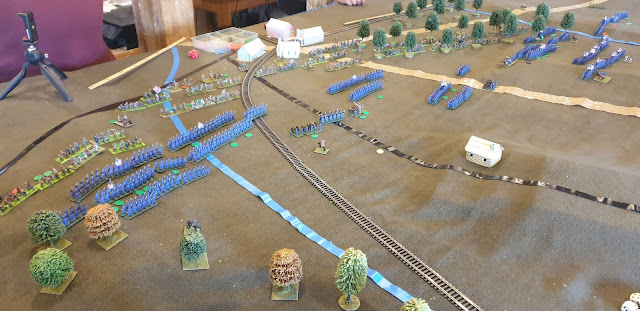
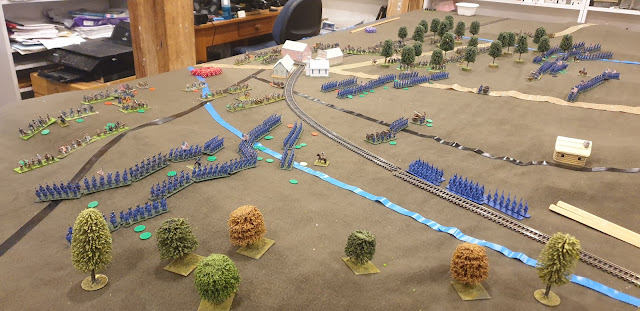
Having driven most of the Reb artillery out of the line the Union have limbered up their artillery in the centre & are moving forward into closer range as the Union infantry advance with them.
The Union are now putting the pressure of numbers with infantry against the Reb right & with artilelry in the centre.  On the far flank the Union have enagaged the Rebs in the wood  but are not pressing an attack, being content to tie the enemy down.
On the far flank the Union far left beyond the woods has been driven back, but the fight in the woods remains an indecisive sideshow as intended by the Union.  But on the near flank the Reb line east of manassas Junction is collapsing under the pressure.  With 6 turns of daylight left the Reb comander has decided his position is hiopeless and is ordering a general withdrawal conceding victory to the Union.

So ends our mini-compaign.  It produced a week or so of intersting email manoeuvring on map, leading to 3 great nights on the wargames table (at least the Union thought they were great).  

The battle went very differently to the real thing.  The Union command decided that long flank marches into s confused battel situation were not a good idea with green troops.  Instead of preparing on day 2 & then going out around the CSA left on day 3 as in the real thing, they attacked the fords directly on day 2.  When the Union succeded in gaining a crossing the Rebs fell back to defensive position in front of Manassas Junction.  So the main battle on day 3 was more of set piece making it much easier for the Union to control their green troops in an attack.


Tuesday, December 21, 2021

Bull Run Day 3

As night approached on day 2 the Confederates fell back towards Manassas & the Union consolidated their positions on the south side of Bull Run.

In the morning the Confederates were deployed defending Manassas Junction while the Union advanced to a new line just outside artillery range.  

The deployment was a slow process with green trooops, but once the infnatry was in a good line the Union artillery was advanced to within rifled artillery range to begin  a bombardment of the CSA centre.
A musket duel began on the Union right where the Union attempt to outflank the Rebs was countered by an infantry brigade advancing out of the woods & a cavalry regiment.
On the Union left the Rebs advanced a brigade, and 2 Union brigades have advanced to meet them. 
In the centre the superior numbers of Union rifled guns have forced most of the Reb artillery to withdraw.  

We were never going to finish this in one night, so we decided this seemed to be a good time to call a halt tonight.  The deployment phase is over & we can start into the serious fighting fresh next week. 

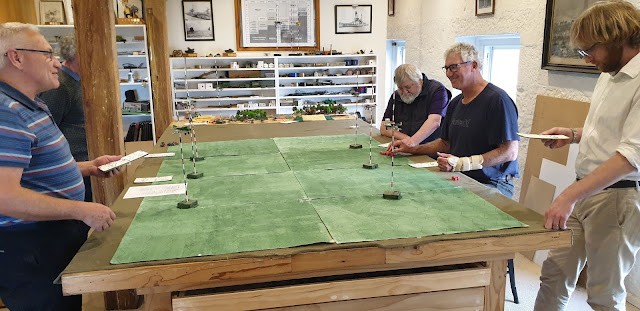
The battle was fought with 2 comanders for each side on the table, whuile the umpire, Union CIC & 2 other interested spectators were on Zoom from Canberra, Bruny Is & a distant suburb.  There is a fixed tablet camera on a high tripod giving an overview & a phone camera on a mini tripod for Zooming in close on request.

Wednesday, December 15, 2021

Bull Run: Day 2

We are fighting a Bull Run as a mini campaign over 4 campaign days.
CSA: Mark, Mitch, Chris.
USA: SteveD*, Renfrey, Jim, SteveJ.
Umpire: PeterW*.
* in Canberra by email & Zoom. 
The map covers an area 20x16km.
Figs are 15mm, CSA old metals of various makes, Union 3-D printed. 
Ground scale 400mm per km.

On day 1 the forces assembled, the Union north of Bull Run, the Rebs to the south.
On day 2 in the real thing, the Union spent the day resupplying & resting up, then on day 3 made a flank march to the west to cross the Run at Sudley Springs.  

In this campaign, the Union advanced on a broad front directly towards Manassas Junction on day 2.  All the fords were defended by Reb detachments.  

The table was set up 16' long & 6' to 8' wide to allow plenty of scope for movement hidden from the enemy.
View of the table from the east before any deployment.
It was turn 9 before your correspondant remembered to start taking photos (being too engrossed in commanding the Union left).  In the foreground a Union brigade stands back from Simpson ford defended by a small CSA brigade with artillery.  On their right a Union brigade supported by 3 batteries is threatening McCleans ford.  At the head of the big bend in the Run a Union brigade is attacking Blackburn ford.  In the distance 2 Union brigades supported by 5 batteries is attacking Michells ford.  Out of shot another Union brigade is watching Lewis & Balls fords.
The first Union success is at Blackburn ford where the Union attack is supported by artillery from their right flank & the Rebs are outnumbered.  The Reb regiment on the ford was broken by fire & 1 Union regiment has crossed the ford.
At Mitchels ford the Union artillery has forced the Rebs back & Union infantry have started crossing the ford.
At Balls ford a Union brigade is inactive guarding the Union flank, but the Rebs are withdrawing their forces from all the fords on that flank.
At McClains the Union are still waiting for their artillery to inflict serious damage.  At Blackburn the Union have crossed in strength & the Reb defence is in trouble.  At Mitchels Reb reinforcements have arrived & the the Union troops across the ford are copping a pounding.
At McClains CSA reinforcements have arrived before the Union even attempted a crossing.
At Blackburn the Reb have broken under musket fire from the front & artillery from the flank.  More Union troops have appeared & are advancing down the ridge.
At Mitchels the Union have been driven back across the ford.
After 16 turns with 6 left until nightfall, only 2 fords had been crossed by the Union & at one of them the attack was beaten back.  But the loss of Blackburn has compromised the Rebel line & the CSA commander has lost his nerve & ordered a general retreat back towards Manassas Junction.  The Union are happy to see them go.  They will occupy the fords before nightfall in a good position to renew the attack across open ground in the morning.

The butchers bill is not high for either, but favours the Union.  Most of the losses were from artillery fire.  The 2 sides had the same number of guns, but the Union's were better concentrated & more effective.

Tuesday, December 07, 2021

Modder Fokkers

With a Bull Run campaign running by email but not yet resulting in battle we took a break from ACW & dusted off the WWI 1/72nd scale airplanes using our old Modder Fokker house rules.
British:  Lt Oakford (Camel). Lt Nash (SPAD).  Lt Arthur minor (Camel).
Germans:  Oberleutant Gandy (Pfalz). Lt Jendrich (Fokker DVII).  Lt Pearson (Albatros).

The Germans are on the left.
The dogfight starts in two parts: Camel v. Fokker on the left & the other 4 mixing it up on the right.
The two dogfights coalessed, then the Pfalz gets on the Spad's tail & the pair split off.  The SPAD used it's speed to break away, but it was lucky in receiving few hits, it received critial airframe damage.
Meanwhile the Fokker & Albatros combined to shoot the wings off Lt Oakford's Camel. 
The Brits might have been wiser to run for it, but they gamely turned back into the fray.
The Pfalz & the Albatross ganged up on the 2nd camel as the Fokker kept the SPAD occupied.
A lucky shot from the SPAD dmaged the Pfalz wich flew off to a safe distance while the Fokker & Albatross finished off the SPAD.

Lt Pearson took the honours with 3 shared kills,  Lt Jendrich shared 2 kills & Ob Gandy shared 1 kill in a 3 nill German victory.