Tuesday, June 28, 2022

Caldiero 1805

This is an age of Eagles Scenario.
French: Jim
Austrians: SteveJ
Umpire: Mike.  Figures 28mm.  Rules M2M house rules.

The battle took place in Italy after the Archduke Charles & Messina got the news of Ulm.  Charles was withdrawing the Austrian army from Italy & this battle is his rear guard fighting Messina's pursuit.  

The unusual feature of the battle was that the first part was fought in a dense fog. Both sides drew a map of their deployment & intial moves.  The umpire plotted the moves & troops were only put down if they came within 6" of the enemy, or after turn 4. 

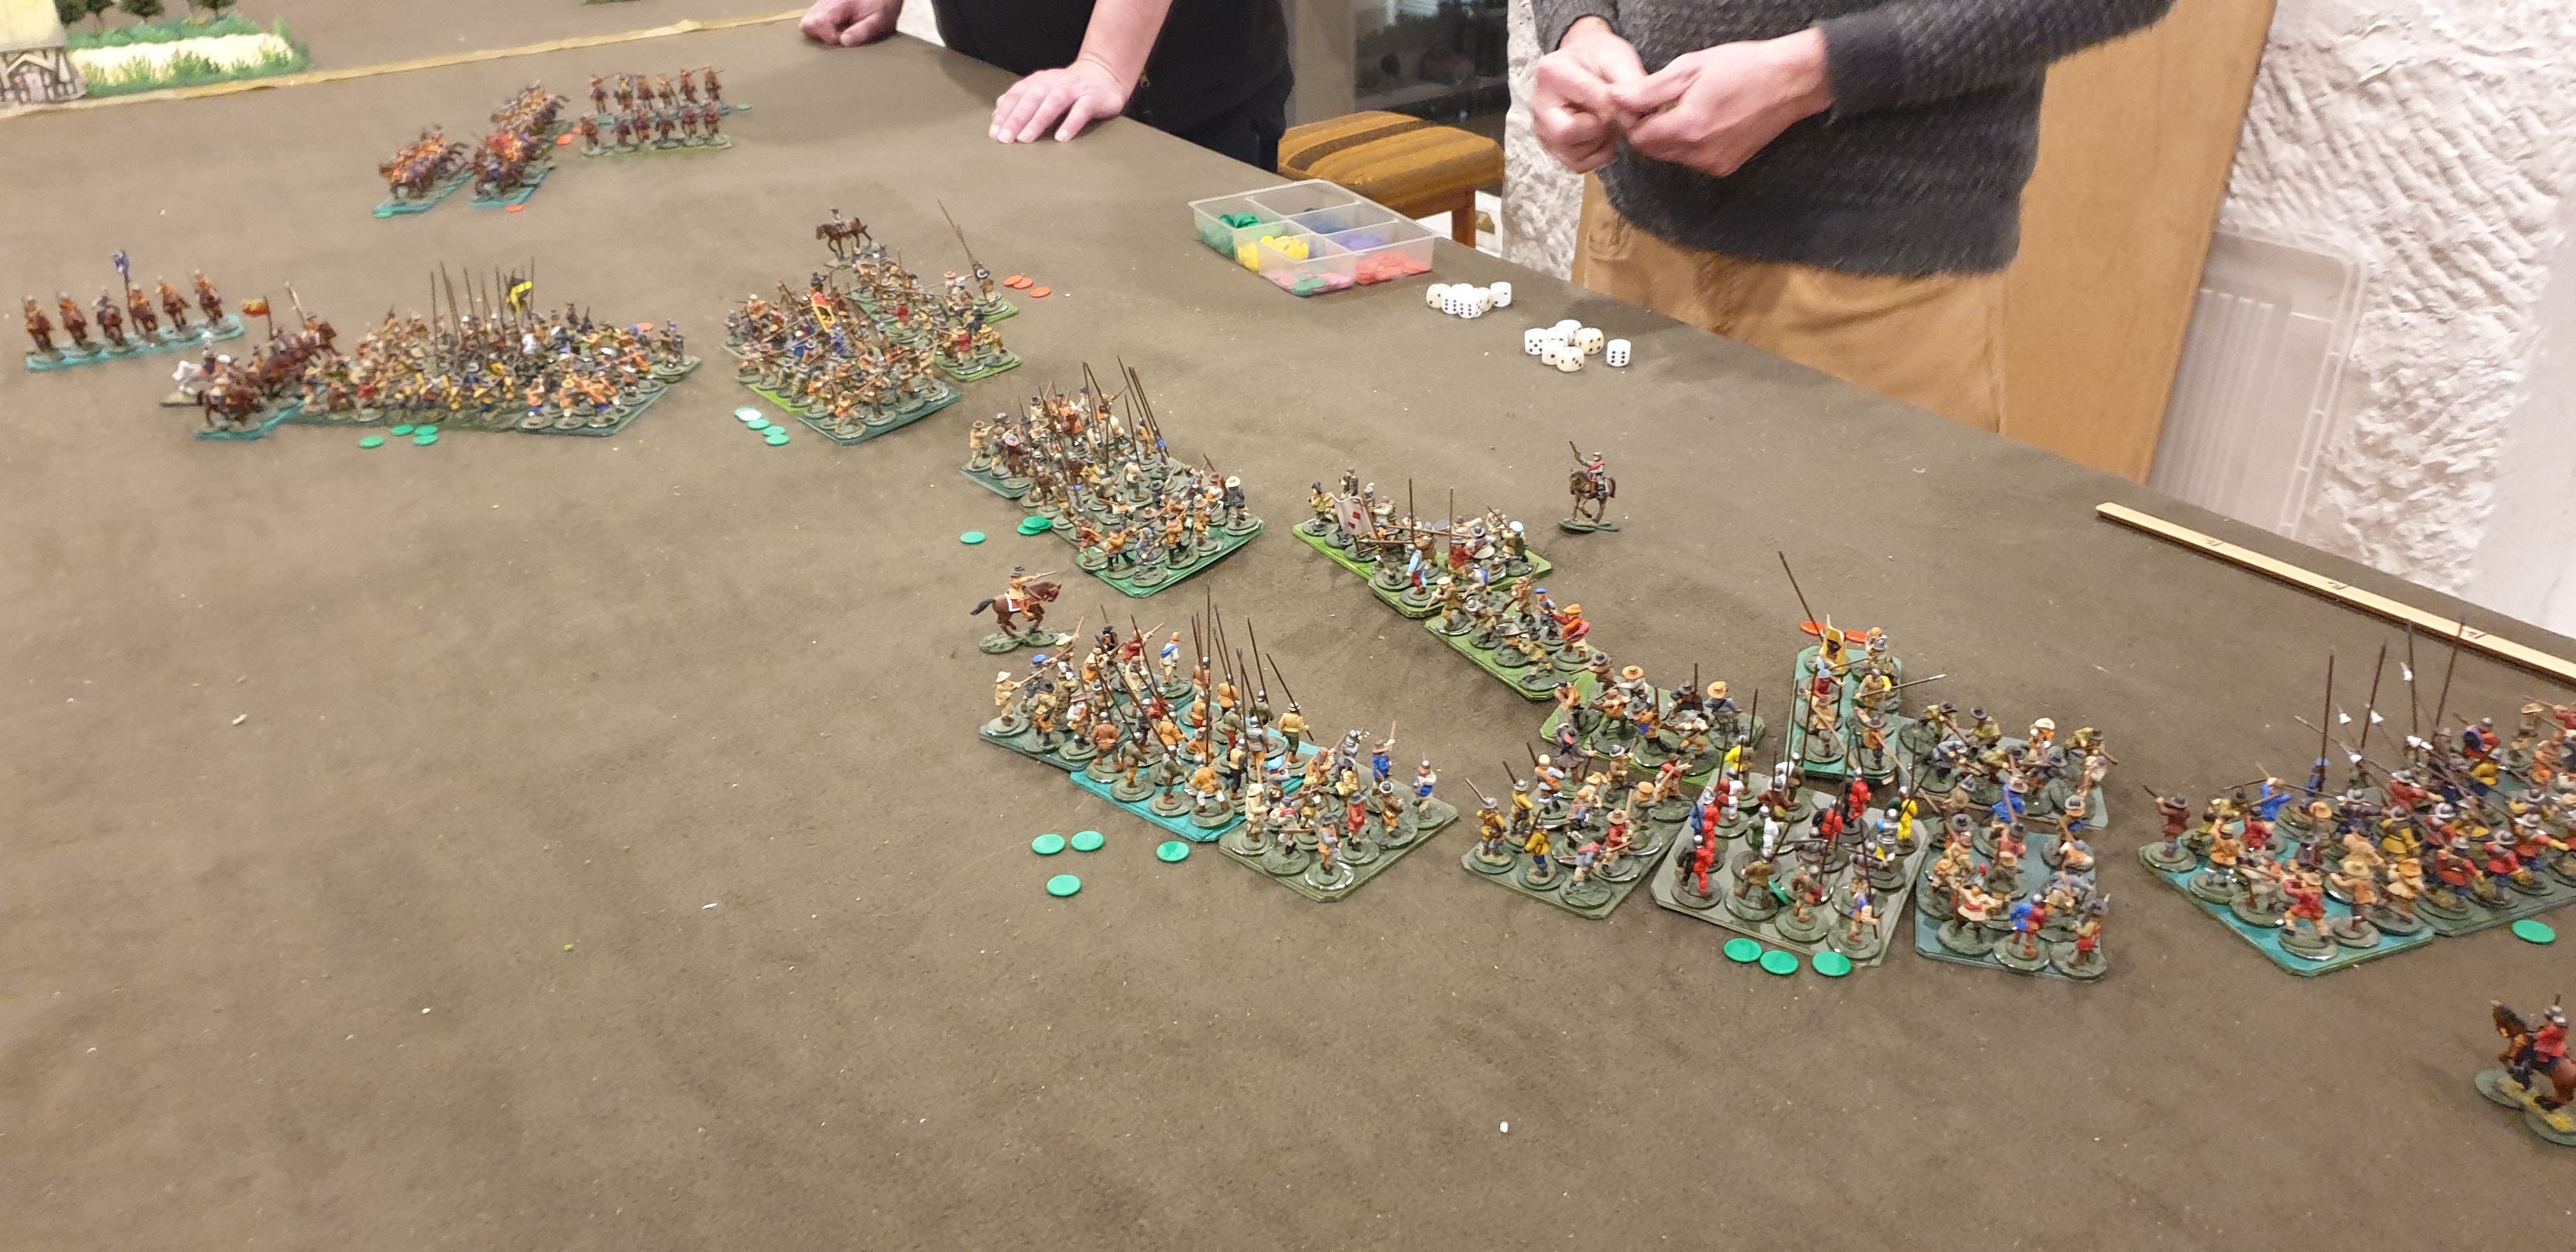
First contact was on the French left on their turn 3 where their adavncing columsn ran straight into Austrian infantry & artillery deployed on a ridge.

The French attack was met with hail of hot dice & staggered to a halt, outflanked on their right.
But more French infantry came out of the fog outflanking the Austrian right. 
When the fog lifted all was revealed. 
The French cavalry is poorly deployed way out on the far flank.
French infantry have occupied Caldiero unopposed.
The thinly held French centre & the right of their main attack is being pounded.
But their outflanking manouvre is threatening the Austrian right flank. 
An Austrian cavalry attack in the centre has been beaten off, but the French cavalry are moving to plug the gap in the French centre.  The Austrian right flank sis being rolled up.
The French centre has been blown away but their cavalry is on the way to plug the gap.
The Austrian right is crumbling.
The Austrian right was charged by infantry along the ridge & by cavalry over the ridge line.  But the grenadier battalion on the edge of the line fought off a 2 to 1 attack from infantry & the infantry on the crest held off the French cavalry.  The grenasiers saved the day for Austria.  Instead of their flank being rolled up, the French had lost over half their infantry on that flank & the remainder had to call off the attack.

The French infantry on the other flank retreated into Caldiero & the cavalry & artillery fell back to a supporting position.  The Austrians rested on their laurels & claimed victory.

The French plan almost worked, but was stymied by devasting fire on first contact out of the fog & the prodigious dice of the Austrian grenadiers holding the end of the line & the line infantry holding off the converging attack of the dragoons.


Tuesday, June 21, 2022

Turnham Green 1642

The Battle of Turnham Green was a bit of a non-event.  The King didn't want to attack because he was outnumbered about 2:1 & short of ammo.  Parliament didn't want to attack because most of their army was "trained bands" who really weren't very trained, & also short of ammo.  So after a bit of skirmishing the King went back to Oxford & the parliamentary army went back to London. Details of the battle are sketchy so we can only make a rough simulation. The critical issues being that the King's troops were better quality than parliament's, the nos of cavalry were about equal, but the King's foot was outnumbered by about 2:1.

King (Mark & SteveJ): 8 regs of horse & 5 pike & shot.
Parliament (Mike, Jim & Mitch): 8 regs of horse & 7 pike & shot.
The King's horse were vets to Parliaments regs.
The Kings foot were in smaller units but regular to the parliament's untrained. 
The King's shot had ammo for 3 turns, parliament for 5.
28mm figs.  M2M house rules.

Pics taken from behind parliament's army.
Parliament put all their cavalry on the left.  The King put 2 regs horse on his right & the other 6 on his left.  His infnatry held a ridge line.  Parliament began an immediate advance on the whole front.
Rupert is moving his left falnk cavary across the rear of the King's infantry.  The parliamentary advance has broken up a bit ebcause of the inevitable command issues with a poorly trained force.  The King's foot has advanced a little to close the range & start a firefight.
Rupert managed to consolidate his cavary on the near flank before the the parliamentary cavalry could organise an attack on the 2 regiments originally on this flank.  The infantry is exchanging musket fire. 
The King's horse has charged the parliamentary cavalry, immediately breaking thru on their left end of the line.  The King's adjacent infantry regiment also charged & broke their opposite number.  On the far flank the parliamentary foot is slowly moving around the King's flank.
The King's cavalry is getting on top of the roundheads.  Parliament have pulled back the left of their infantry line to cover their flank.
The parliamentary cavalry has been broken & the camera has shifted to the other flank where the parliament's foot is assaulting the end of the King's line.  The infantry on the left of parliament's line is now being attacked frontally by infantry & in flank by cavalry.  In the centre one of King's foot regiments has been broken.
The King's foot has now been broken & the survivors are fleeing.  The parliamentary foot have formed a hedgehog to protect their left flank from cavalry.

The King has no foot left, but parliament has no cavalry left.  Niether can hurt the other so the King goes back to Oxford & the Parliamentary army goes back to London. both claiming victory.

A few days later Abel Tasman sighted the island he called Van Diemans Land, site of Camp Cromwell.

Tuesday, June 14, 2022

30 Years War: Swedes v. the Empire

Swedes: 6 pike & shot, 2 musketeers, 8 heavy cavalry, 2 guns. 
               All veteran & superior command.  The pike & shot units had more pikes than the Swedes.
Empire: 6 pike & shot, 2 2 handed swords, 4 heavy & 4 medium cavalry & 4 guns.
               All regular with regular command.
Figures: 28mm.  Rules: House rules M2M.

The Swedes are on the far side commanded by Mike. 
Steve is CIC for the Empire with Jim left flank commander.
On the far flank the Swedes are advancing infantry thru the farm & cavalry around the flank. The Empire have deployed cavalry & swordsman to face them. In the centre the Swedes are advancing while the Empire stands back behind the ridge.  On the left the Empire is looping their cavalry out to the left while advancing their infantry thru the gap in the Swedish line.
On the right the Swedes have moved around & thru the farm to face the Empire's flank guard.  In the centre the Swedes have moved to the top of the ridge to initiate a fire-fight. On theleft the Empire's cavalry are pinning the Swedish cavalry as their infantry outflanks the Swedish foot.
On the right the infantry are engaged HTH.  A fire fight continues in the centre.  Left of centre the Empire's foot is lapping around the Swedish infantry's flank & has also flanked the Swedish cavalry.
On the far flank a furious but as yet indecisive fight is raging.  Inf v. inf & cav v. cav.  In the centre the Empire has charged up the hill & broken the Swedish front line, but with such high casualties that they don't dare charge on against the second line of fresh troops.  Left of centre the Empire is wrapped around the Swedish flank, but is still losing casulties to Swedish veteran's superior firepaower.   On the left the cavalry fight is still in the balance. 
On the far flank the Swedish foot is getting the upper hand.  Along the ridge line the superior Swedish fire is weakening the Empire's tecios, but on this end of the ridge the overlap is threatening their position.  On the left flank the assistance of a tercio has allowed the Empire cavalry to get the upper hand. 
On the far flank the Empire infantry has been destroyed, but their cavalry has fought their opponents to a draw & fallen back.  On the ridge, the Empire's tercios have been broken by Swedish musket fire.  But the Empire infantry has charged the flank & broken the end of the Swedish line, reducing their cntre infantry divsion below half so it fails division morale & breaks. The Swedish left flank cavalry has also broken.  

The Empire has won a bloody fight.  The Swedish musketeers almost saved the day, but the penetration of the gap in the Swedish line allowing flanking of both Swedish infantry & cavalry was in the end decisive.  


Tuesday, June 07, 2022

Mech war in the desert

Mike's Brits v. Jim's Italians.
15mm figs.  Mech war house rules.There are 5 objectives along the table centreline. Deployment was BA style drawing coloured dice for the order of placing platoons with 18" of own baseline.  The Italians are on the near side of the table.The Italian artillery are laying smoke in front of the 25pdrs behind the Brit centre.  The Italian infantry is advancing on the village with L6 light tanks on their right flank. M14's on their left.  Another M14 palatoon is advancing along the ridge in the centre.
The Brits are moving their bugs away from the L6's & advancing infantry with Matilda support in the centre.  A trucked platoon is advancing in the centre with Matildas. They also have a 24pdr battery on the far flank which is limbering up.On the far flank the 25pdrs are under tow & advancing down the road.  On the central ridge 3 Matildas are being rushed by 5 M14's.  In the centre, 5M14's are engaging 2 Matildas at close range thru the palm trees.  On the right, the L6's are ignoring the Matilda that turned to deal with them & is pursuing the bugs into the palm trees. On the left, the 25pdrs have deployed & destroyed most of the Italian artillery, who had bravely ignored their fire to continue laying smoke to protect their armour from the other 25 pdr battery.
On the ridge, the M14's destroyed the Matildas & swept around the smoke to decimate the other 25pdr battery.  The trucked infantry platoon has driven away.
In the centre, the M14's took out 2 Matildas.  British infnatry tried to counterattack the M14, but were mown down by defensive MG fire.  The M14's then finished off the last Matilda & wiped out the 2nd british infantry platoon with MG fire.
On the right, the bugs blasted the Bergaglieri out of the way to escape the L6's. 

At this stage the Brits have lost 4 of their 8 platoons & hold just one of the objectives to the Italian's four & have no tanks left.   The Brits conceded the battle.