Tuesday, July 26, 2022

Part of Austerlitz in Canberra

SteveD set up the section of Austerlitz between Bagration's Flank & the Platzen with 15mm figs & Camp Cromwell's M2M rules.  French: Jim.  Russians: SteveD.

All pics are from behind the Russian left.The Russians are mainly cavalry, with one guard infantry division.  The French have infantry on their right & cavalry on their left.  Both sides will receive reinforcements about turns 7 or 8.

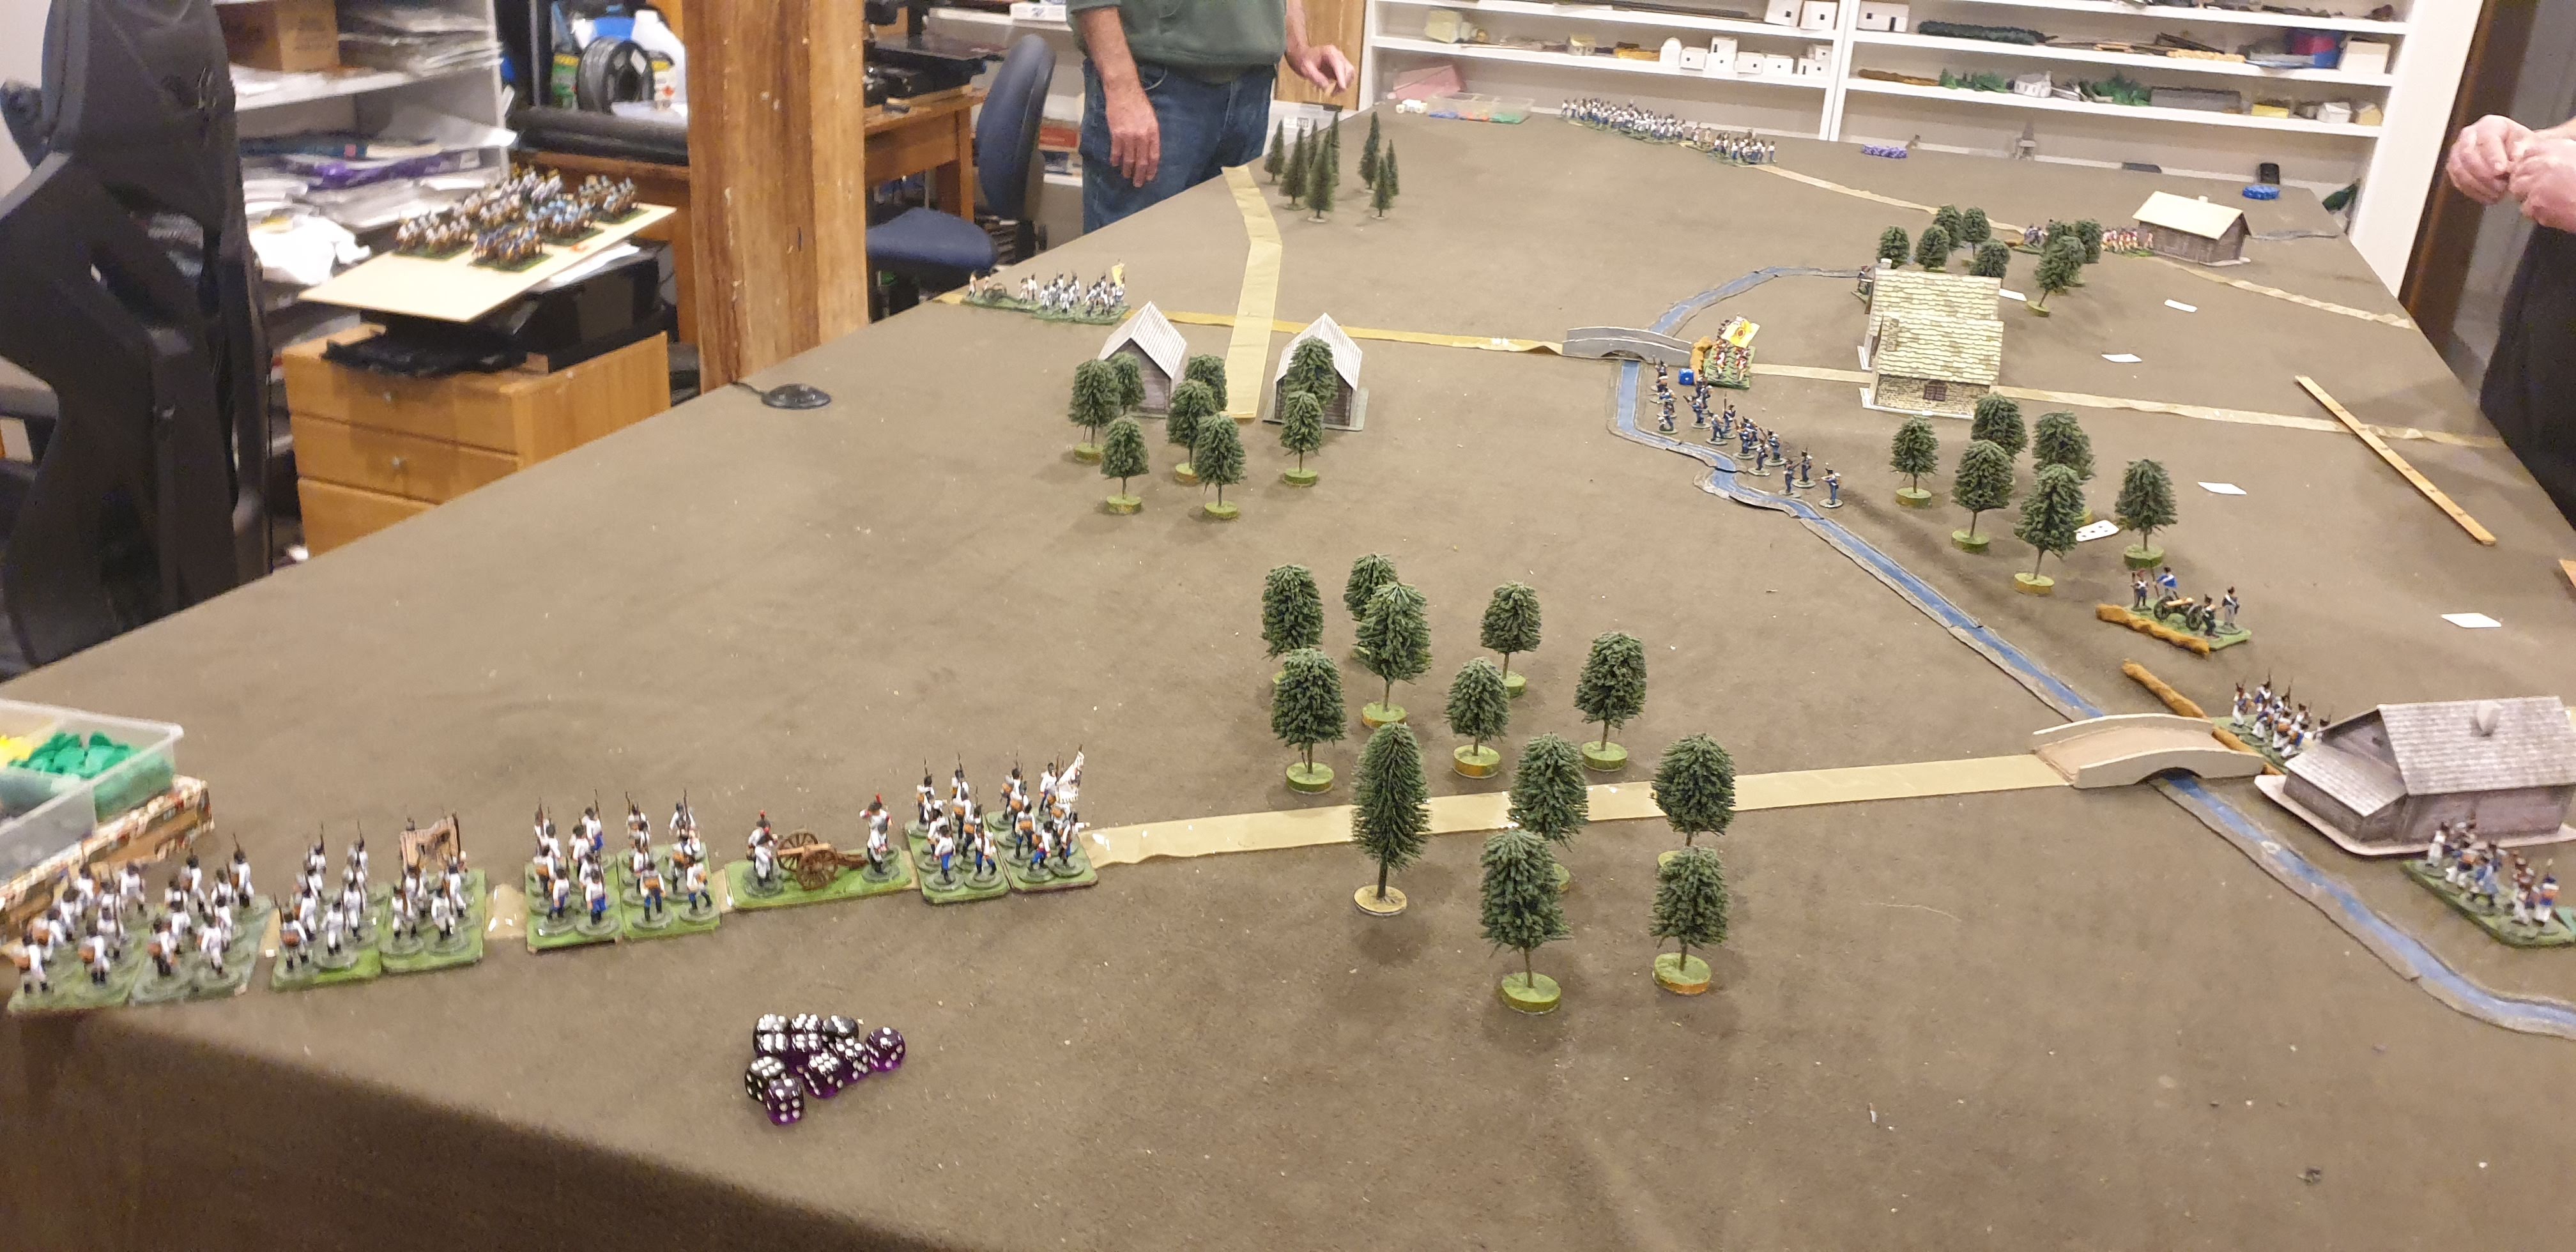
The French infantry have advanced to the brow of the low ridge while the Russian infantry & artillery are deployed behind it. An Austrian cavalry brigade covers the Russian left.  The Russian cavalry have been concentrated on their right. The French cavalry have stopped just out of charge range of the Russian cavalry.
The ridge allowed the French infantry to get up close to the Russian batteries deployed in front of their infantry & blow them away with musketry, though not without loss.  On the near flank an infantry battalion in line has been ridden down, but there was a square in support.
The French infantry & Russian Guards have formed lines & are exchanging musketry.
The firefight continues in the centre while the Russian cavalry have finally attacked right of centre.
Russian reinforcements have arrived.  The Russian cavalry on the far right has now also charged.
French reinforcements have arrived as fighting rages along the whole front.
The French infantry are falling back over the ridge as the Russian reinforcements come up. The massive cavalry fight continues on the far flank.
The Austrian cavalry on the left have begun advancing around the French left flank.  The Russian reinforcements are moving towards the centre,  The French have fed a fresh cuirassier brigade into the cavalry melee & a new infantry division is advancing past the end of the cavalry melee. 
Right of centre the Russians have broken thru to take on the 2nd dragoon reinforcments while their own reinforcements are deployed.
On the far flank, both sides' cavalry are spent & unable to take offensive action, but the French infantry reinforcements are deployed & advancing on the Russian flank. 
In the centre both sides' infantry are happy to stay out of musket range.
Right of centre the Russian cavalry had broken thru & the Austrian cavalry has moved around the French left to assist their attack on the last viable French cavalry brigade.
On the far flank both sides' spent cavalry has fallen back .
Right of centre, the French dragoons have been crushed between the allied cavalry.

The Russians have the only useable cavalry left on the field, but none of it is fresh enough to take on infantry & the French have 8 fresh infantry battalions advancing from the far flank & 9 mostly fresh infantry in the centre to which they can oppose only 9 battalions.  The Russians decide to withdraw their cavalry thru the gap before it closes. But the French will be unable to renew their attack without cavalry.   The French of course will claim to have won, but the Russians did much better than historically. 


Part of Friedland in Canberra

Visiting SteveD in Canberra.  A scenario based on Ney's attack at Friedland.
Russians: Stve.  French: Jim.
"Figs are Steve's 15mm.  Rules Camp Cromwell M2M.

The French infantry are emerging from the woods. Their cavalry are on their left.  The Russian infantry are in a low ridge with most of their cavalry on their right & some cossacks on their left.
The French have advanced their centre behind a skirmisher screen.  The Russian cavalry have advanced on both flanks.  French infantry have advanced in line on the flank of the cossacks trying to outflank them. 
On the near flank the cosacks withdrew after taking heavy casualties from French fire.
In the centre the French jnfantry have closed up behind the skirmish line.
On the far flank the Russian cavalry was  swept away by a shower of hot dice & the French cavalry Are wrapping around the Russian right as French infantry move up in support. 
On the near flank the cossacks have been broken by artillery & the French infantry are wrapping around the Russian left.
On the far flank, Dragoons are pinning down the Russian right while hussars sweep across the Russian rear.
In the centre, the French infantry lines have moved up to engage with musket fire.
The Russian position with both flanks overlapped & hussars in the rear are hopeless & they concede the battle.  

The French had a good plan blessed with hot dice.


Tuesday, July 12, 2022

Napoleonics: France v. Austria

Not an historical scenario, just two approximately equal forces.
Austrians: Jim & Steve: 8 line, 2 grenadier, 2 yeger, 3 cuirassiers, 3 hussar, 2 batteries. Standard command.
French: Mike & Mark: 9 line, 3 legere, 2 dragoons, 1 hussar, 1 lancer, 3 batteries.  Good command.
Map deployment.  Rules M2M house rules.  Figures 28mm.

The Austrians deployed infantry on the two ridges with most of their cavalry in the centre.  The French deployed all the cavalry on their left,  1 infantry brigade on the right & 2 infantry brigades in the centre.
The French infantry are advancing en masse against the Austrian left while their cavalry advance to pin the Austrian left.  The Austrians are moving their cavalry to the right behind infantry in square. 
On the near flank the French infantry are deployed ready to attack the ridge.  The Austrians have have formed a supported line on the ridge.  In the centre, French hussars charged a battery left isolated & took it out before the Austrian cavalry could deploy through the squares.  Once the cavalry had passed through them, the Austrian infantry formed columns & began moving to support their left.  
The Austrian lines have held the initial charge on the ridge & have counterattacked around their right flank.  A cavalry fight is raging on the far flank.  In the centre the Austrians from the right flank are arriving to plug the gap in the Austrian line.
The Austrian line on the ridge has broken, but only after inflicting significant casualties.  On the far flank the French cavalry put a good fight against superior numbers, but the Austrian have finally got on top.  In the centre both sides have formed line & are exchanging musket fire.
On near flank there is a bit of a lull as the French pull back their shaken units & bring fresh stoops to the fore.  On the far flank, the Austrian cavalry is wrapping around the French left causing them to start to pull back their left.
The French cavalry has been entirely & the French left has formed a line of squares & artillery to face the Austrian cavalry.
The Austrian cavalry are pulling back from the new line of squares & guns. On the near flank the French have renewed their attack.  In the centre the Austrian infantry are following up. the French retreat. 
The second French attack on the near flank has failed to break through & the Austrian counterattack in the centre has made enough gains to kick the French into failing their army morale test giving the Austrian victory.  It was a close run thing as the Austrians were only 1 unit loss off failing army morale themselves.


Tuesday, July 05, 2022

Raszyn 19 April 1809

At the Battle of Raszyn, Poniatowki tried to stop an Austrian advance on Warsaw with an army of Poles & Saxons.  The Allies were heavily outnumbered but had a good defensive position behind a small river.  Scenario based on an Age of Eagle's scenario with the OOB from Digby Smith.

Austrians: (Jim, Mike & SteveJ). 12 line inf, 2 grenadiers, 2 yegers, 3 cuirasiers, 3 hussars, 3 batteries.
Allies: (Mark & Mitch). 4 Polish line, 2 Polish light, 5 Saxon line, 2 Saxon grenadier, 1 heavy cav, 1 lancer 2 hussar, 3 batteries.
The river is un-crossable by cavalry & artillery. The ground either side is marshy so 3" move & -1 to fire while in it & no charge bonus emerging from it.  The Allies had improvised defenses on each bridge.

The Allies are on the right.  Only their troops visible to the Austrians are on the table, the cards behind the ridges indicate possible locations of hidden troops.  The Austrians are coming on in 3 columns.  The composition of the columns is not known to the Allies.
The 3 Austrian infantry columns are deploying.  Each column has 4 line inf & a battery. The centre column also has the grenadiers & yegers.

There is are firefights across the river all along the line.  The Austrian hussars came on in the centre & have been sent to the right.  The cuirassiers also came on in the centre. 

On the near flank the Pole have fallen back under fire though one Austrian infantry battalion was also  broken.  Both sides have deployed cavalry in the gaps in the infantry lines.
In the centre Austrian grenadiers have charged over the bridge but so far not broken through.
On the far flank an indecisive fire fight continues. 
On the near flank the Austrian hussars are making a death or glory charge.
In the centre the Austrian grenadiers have been repulsed.
On the near flank the Austrian hussars have been thrown back across the river.
In the centre the defenders of the bridge lost a lot of casualties beating off the grenadiers & were ridden down by cuirassiers.  But Saxon heavy cavalry have moved up to plug the gap.
The Saxon heavy cavalry have stopped the cuirassiers in the village. Both flanks are stalemated.

The Allied infantry is verging on breaking, but so is the Austrian's, & they have no reserves left to continue the attack.  The Austrians decide its time to make a "gesture of good will" and retire.